
Last updated September 20, 2026
Free on-site gate assessment - hinges, posts, and your LiftMaster or Nice gate operator checked before anything is quoted
The assessment is free and the quote is the invoice.


 Before
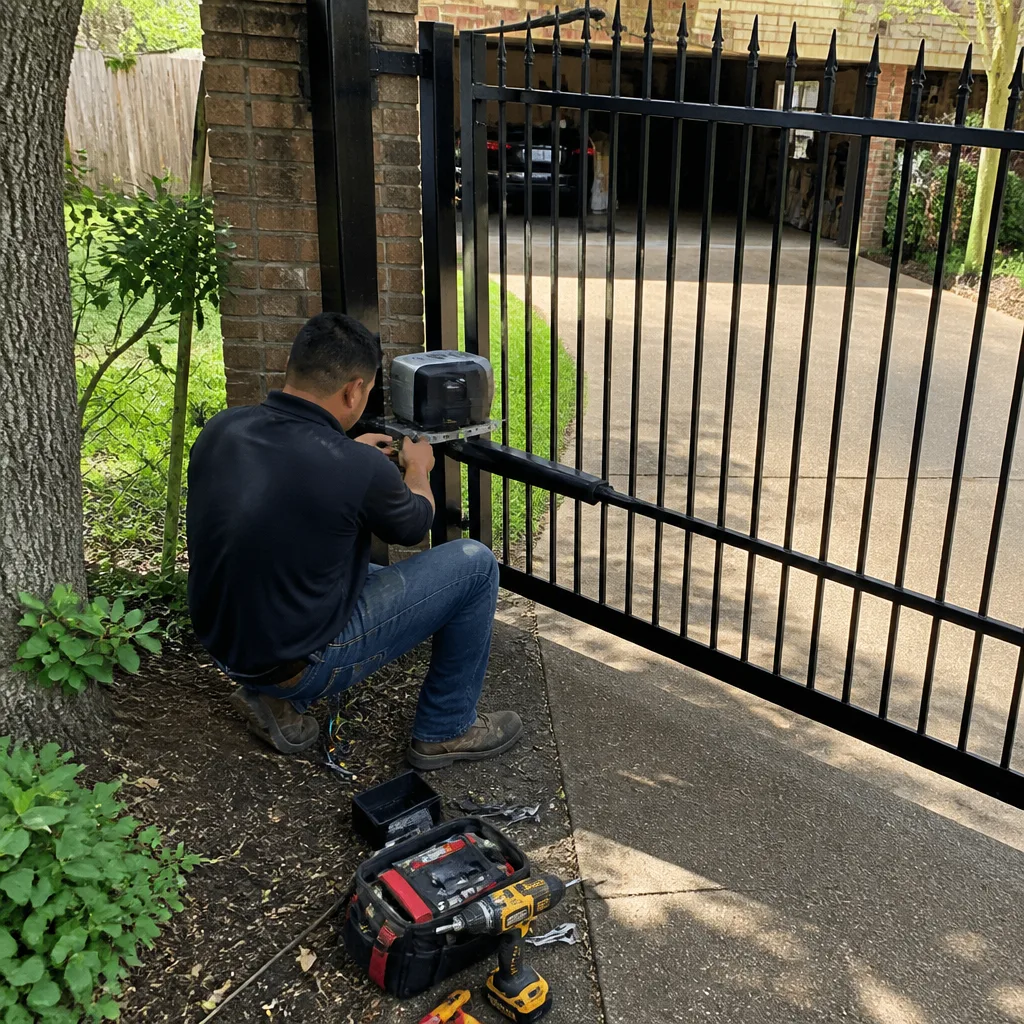 After
After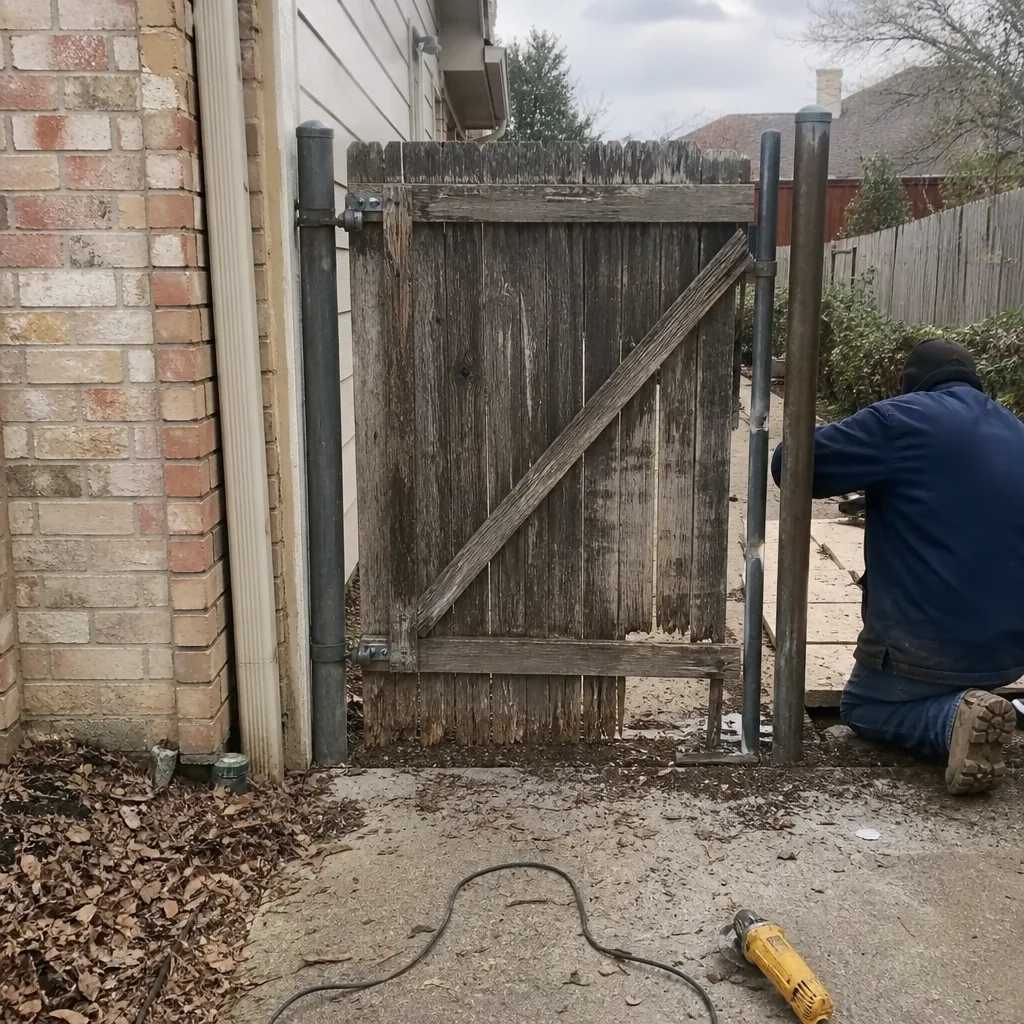 Before
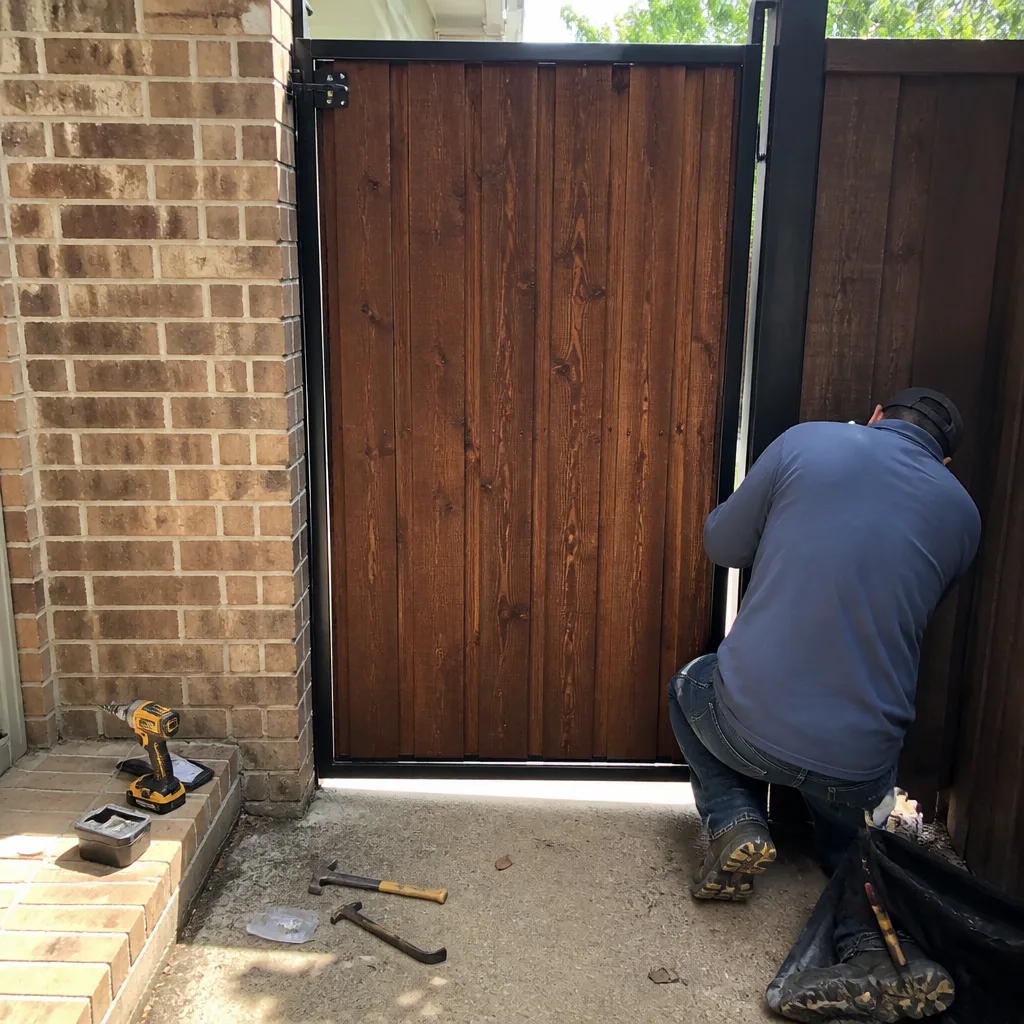 After
After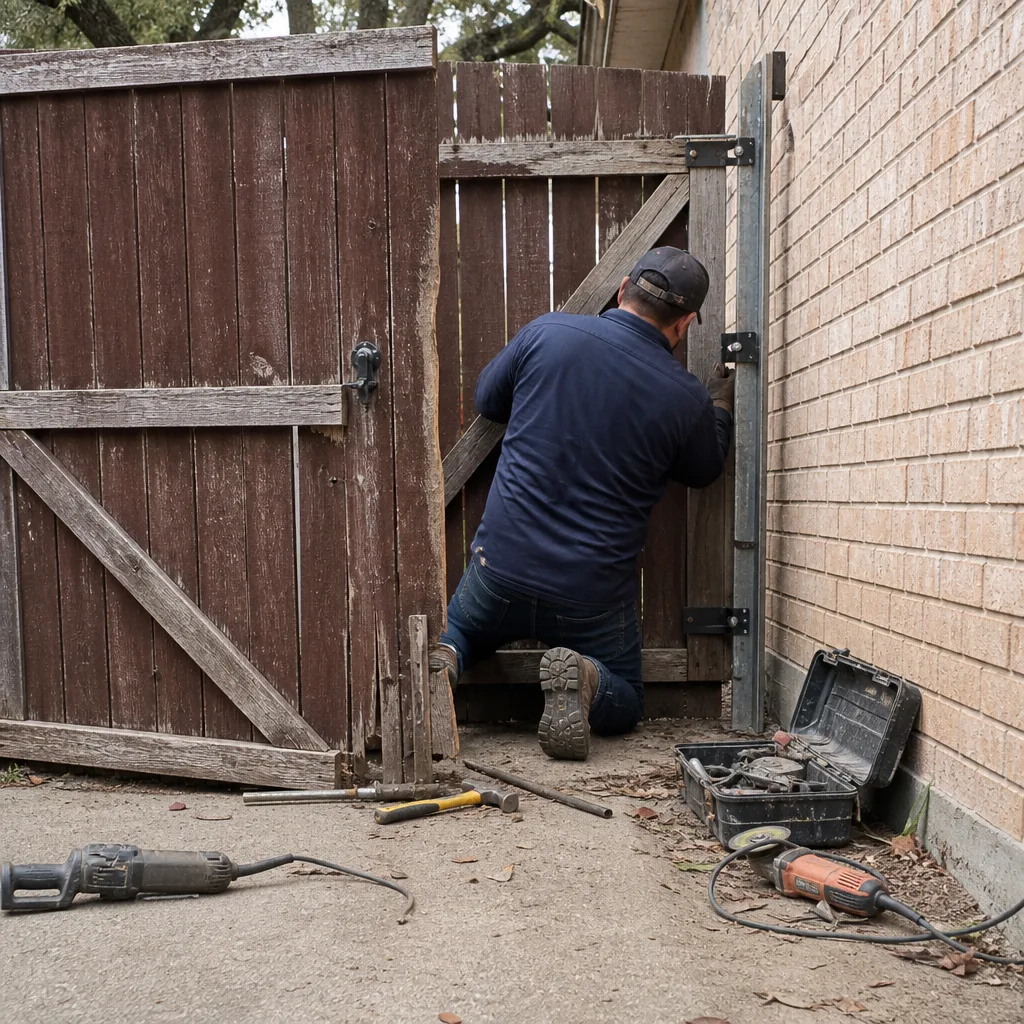 Before
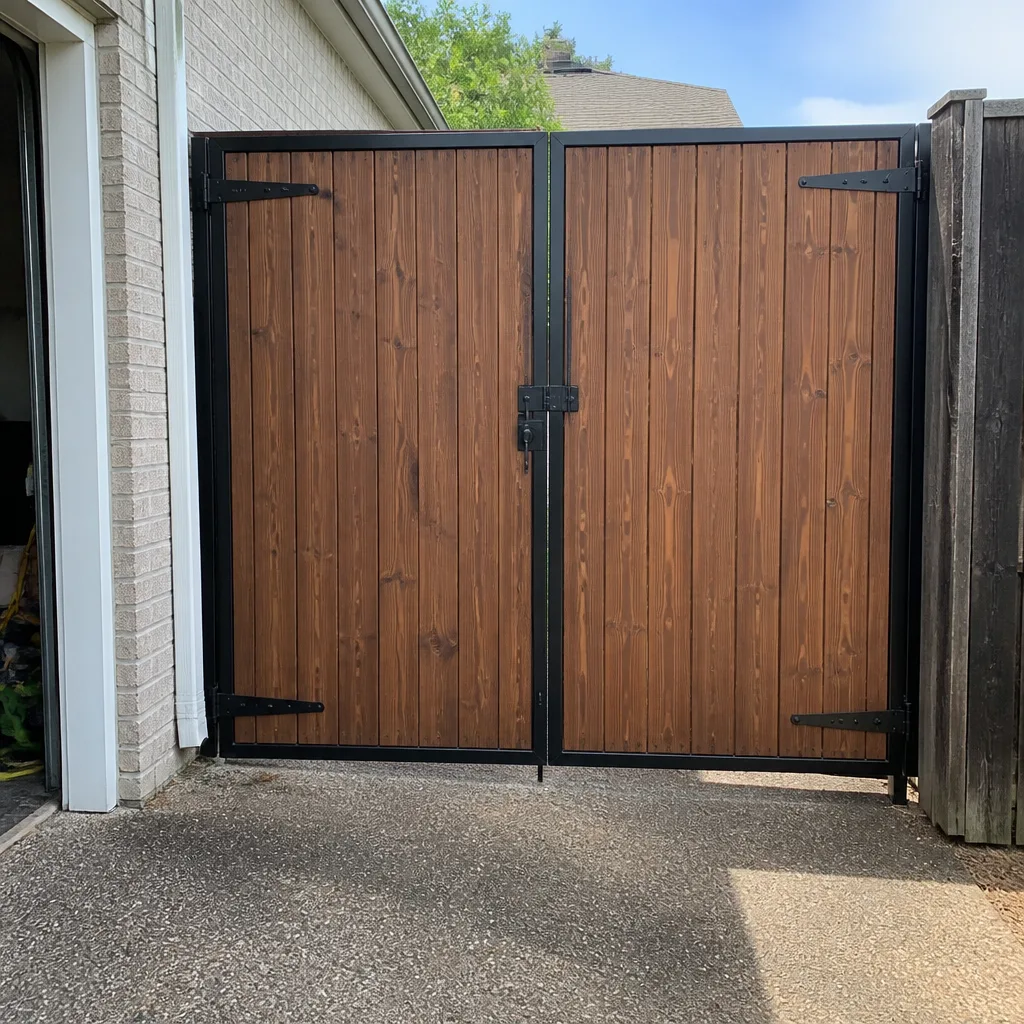 After
AfterGate Repair Maintenance Checklist for Irving Homeowners
Most gate maintenance checklists were written for climates with mild summers. They tell you to inspect hinges in April and lubricate the motor in October, and they imply that’s enough. But those checklists were not written for Irving. Irving averages 19 days above 100°F per year, with UV indices that routinely hit 11 in July and August. That kind of exposure degrades photo-eye lenses, cracks wire insulation, and bakes lubricant out of hinge pins in a single season. A gate that passes a generic spring inspection can fail by late August for reasons the generic checklist never anticipated. This guide is sequenced by Irving’s actual failure calendar, not by component category, and it gives you the specific measurements worth recording so you can catch drift before it becomes a driveway-blocking breakdown. For Gate Repair Warning Signs: A Irving Homeowner’s Reference Guide, see our companion post.
Quick Answer
A gate maintenance checklist for Irving homeowners should be sequenced by season, not by component. In winter, you’re checking for temperature-swing damage to wiring and motor mounts. In spring, you’re clearing storm debris from limit-switch channels and testing safety eyes after hail. In summer, you’re inspecting for UV-degraded photo-eye lenses, dry hinge pins, and heat-related motor overloads. In fall, you’re re-torquing hardware before the first freeze and documenting baseline readings for the winter.
Table of Contents
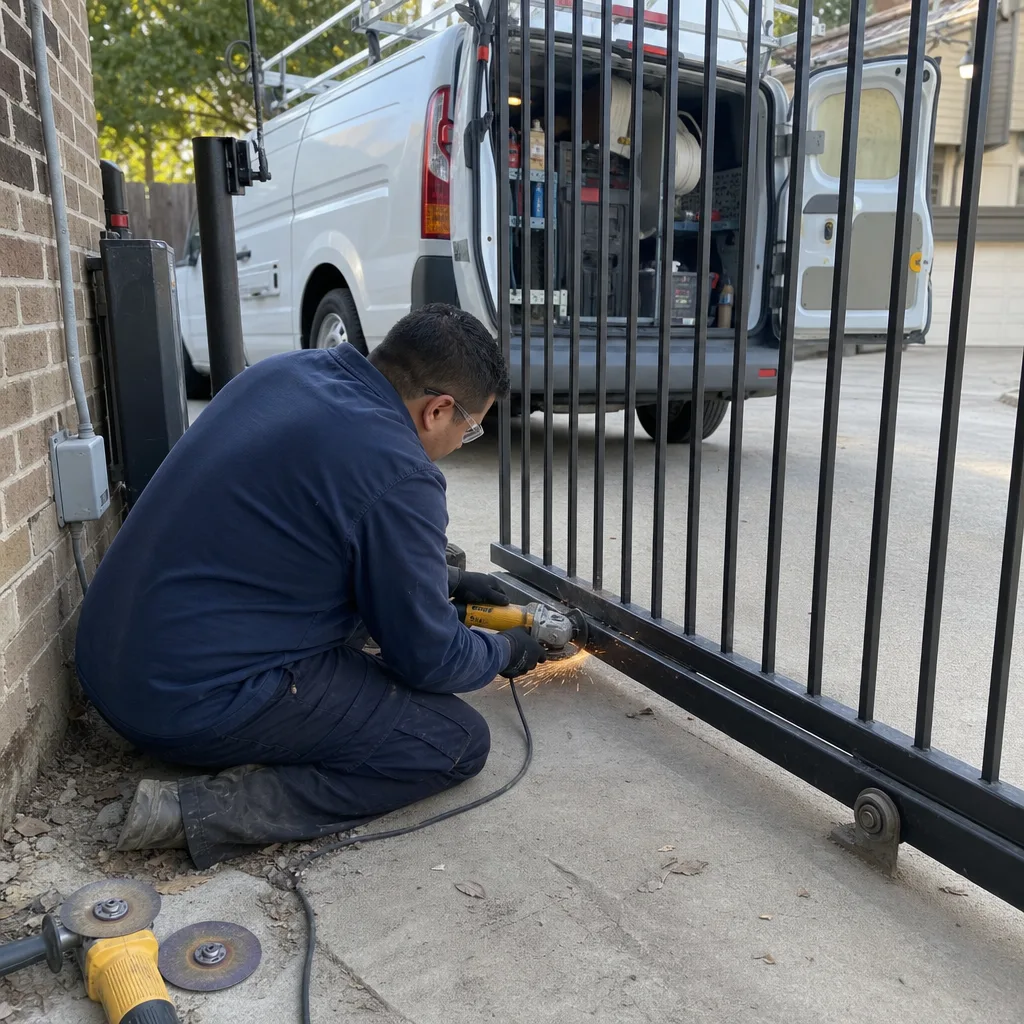
- Why Irving’s Climate Demands a Different Checklist
- Baseline Readings: Record These After Every Repair
- Winter Checklist: December Through February
- Spring Checklist: March Through May
- Summer Checklist: June Through August
- Fall Checklist: September Through November
- Three Consumable Parts to Keep on the Shelf
- Tasks That Void Warranties If Done Incorrectly
- Common Mistakes to Avoid
- When to Call a Professional
- Frequently Asked Questions
- The Bottom Line
BeforeAfterWhy Irving’s Climate Demands a Different Checklist
Irving’s weather does not move in gentle seasonal transitions. It swings. February can deliver a 70 degree afternoon followed by a 28 degree night. May brings hail. August sits above 100 for days at a time. Each of these conditions creates a specific failure mode on a driveway gate, and the sequence matters because damage from one season sets up failure in the next.
Here’s the failure sequence we see most often in Irving:
- Summer heat degrades the photo-eye lens. The infrared beam that stops the gate when something crosses the path depends on a clear plastic lens. After one full Irving summer, that lens can cloud or micro-crack enough to scatter the beam. The gate then reverses randomly or refuses to close.
- Fall storms deposit debris in the limit-switch channel. The limit switch is the mechanism that tells the motor where the gate’s travel ends. Leaves, dirt, and the fine dust that blows across Irving in October work into that channel. The switch reads the wrong position, and the gate overtravels or stops short.
- Winter temperature swings crack wiring insulation. Wire insulation expands and contracts with temperature. Fifty degrees of swing in a single day, repeated across a North Texas winter, eventually creates hairline cracks. Moisture gets in. The control board sees voltage where it shouldn’t.
- The next spring, every marginal component fails at once. By March, the gate has accumulated damage from all three prior seasons. That’s when most Irving homeowners call for gate repair in Irving.
This sequence is why a month-by-month checklist matters. You’re not performing generic maintenance. You’re interrupting a specific, local failure progression.
Baseline Readings: Record These After Every Repair
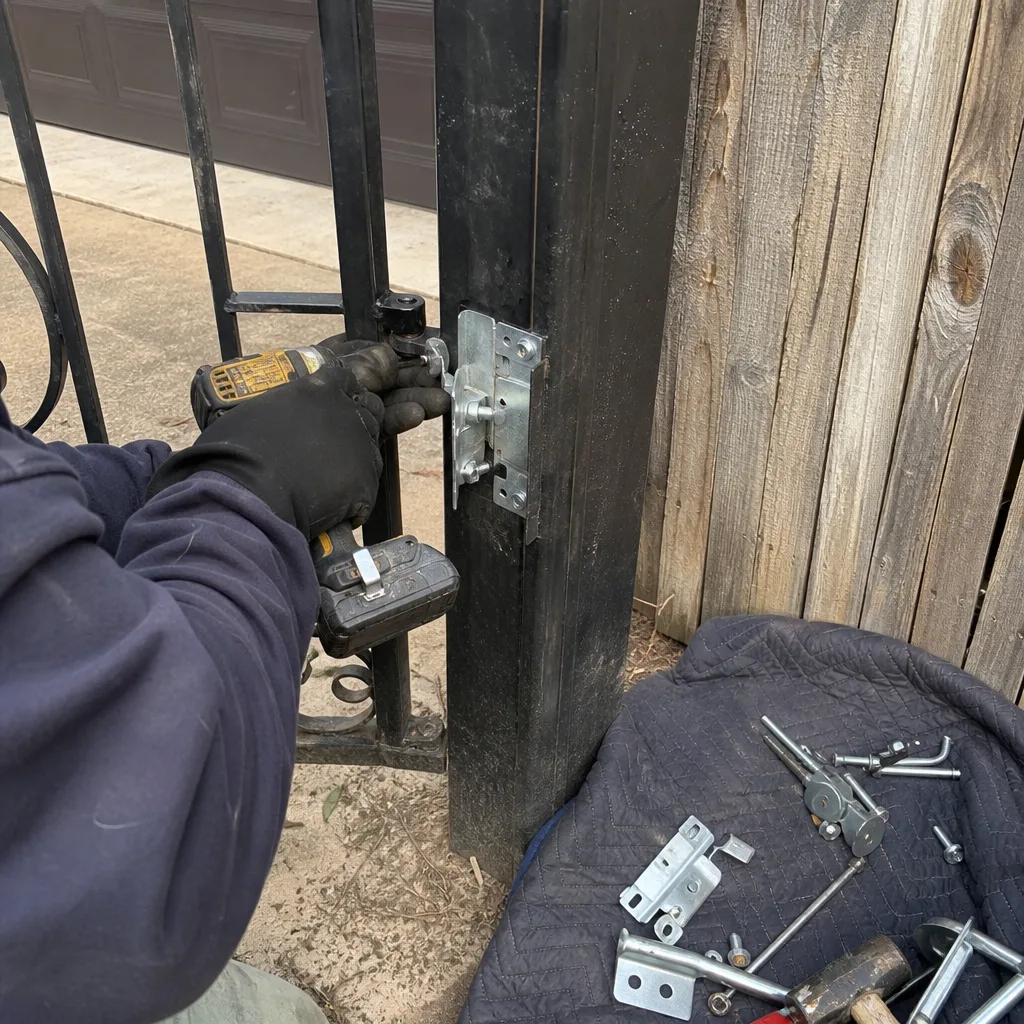
Here’s the habit that separates homeowners who catch problems early from those who discover them at 7 a.m. on a workday: write down the numbers. Every repair, every maintenance visit, every adjustment should end with a set of baseline readings you can compare against later. Without baselines, you have no way to detect drift. You’re waiting for noise or failure, which means you’re waiting too long.
What to Record
- Hinge gap. The distance between the gate leaf and the post at the hinge point, measured in millimeters or fractions of an inch. Record it at the top hinge, middle hinge, and bottom hinge. If the gap grows by more than 1/8 inch over six months, the hinge pin or bearing is wearing.
- Ground clearance. The distance from the bottom of the gate to the driveway surface at the latch end, with the gate closed. On a chain-drive opener, this should stay consistent. A loss of clearance means hinge sag; a gain means the post is shifting.
- Motor draw. The current draw of the opener motor in amps when the gate is moving. Ideal draw for most residential swing-gate motors is 3 to 4 amps. If you see 6, the gate is binding somewhere, and the motor is working harder than it should.
- Open and close time. How many seconds the gate takes to travel full open and full closed. A slow drift in either direction, measured without any obvious cause, usually means the limit switch or gearbox needs attention.
- Force reversal settings. On LiftMaster, FAAC, Linear, and BFT operators, there’s a sensitivity or force setting that controls how hard the motor pushes before it stops and reverses. Record the current setting after each adjustment.
When our Gate Repair services team finishes a job in Irving, every visit leaves a photographed record of what was found, what was set, and what was installed. You get a written record of the part numbers and the readings we took – the limit-switch position, the force setting, the motor draw. Our 365-Day Done Right Promise means that if anything isn’t right within a year of the work, we come back and make it right without a fee or an argument. But even if we never see your gate again, you’ll have the baseline numbers to hand to any technician.
Winter Checklist: December Through February
Winter in Irving isn’t brutal by northern standards, but the temperature swings are the real threat. A 30 degree night followed by a 65 degree afternoon is normal, and that repeated expansion-contraction cycle is what compromises connections and insulation over time.
Monthly Tasks
- Inspect wiring at the motor and control board. Look for hairline cracks in the insulation, discoloration at the terminals, or any sign of arcing. Don’t open the control board enclosure if you’re not comfortable with low-voltage electronics; just inspect what’s visible and reachable.
- Listen for a change in motor pitch. Cold temperatures thicken gearbox grease. If the motor sounds labored or the pitch has changed since fall, note it. A change of more than a few seconds in travel time means something is binding.
- Test the safety reverse on a cold morning. Place a cardboard box in the gate’s path and close it. The gate should stop and reverse before crushing the box. If it doesn’t, the force setting is too high or the photo-eyes aren’t aligned.
- Check the battery backup, if installed. Many Irving homes with LiftMaster or FAAC operators have a battery backup for power outages. Test it at least once during winter. If the battery won’t hold a charge, replace it before storm season.
One note on frost: if the driveway gate sits in shade and frost forms on the hinges, don’t force it open. Frozen lubricant and a cold gearbox under load is how motors burn out.
Spring Checklist: March Through May
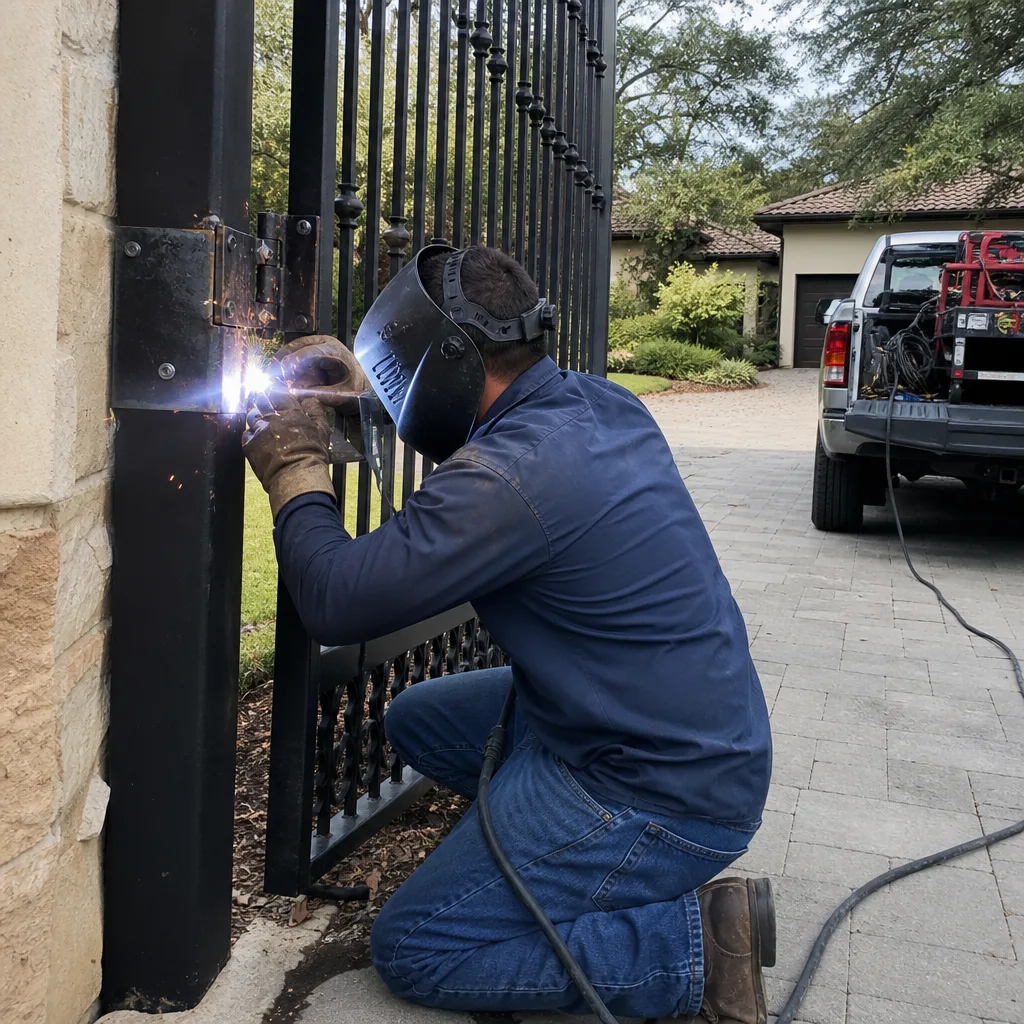
Spring in Irving is hail season, and hail is harder on gates than most people realize. Hailstones at 40 to 60 miles per hour can knock photo-eyes out of alignment, dent control enclosures, and crack decorative gate panels. After any hailstorm, do a full inspection regardless of whether the gate looks damaged.
Monthly Tasks
- Realign the photo-eyes. The photo-eye, sometimes called the safety beam, is the infrared beam that stops the gate when something crosses the path. Hail, wind, or even a hard slam can knock it out of alignment by a few millimeters. Test it with a solid object. If the gate doesn’t reverse, the eyes need alignment.
- Clear the limit-switch channels. The limit switch is a small mechanical or magnetic switch that tells the motor where the gate’s travel ends. Leaves, acorns, and the fine red clay dust that blows across Irving in March can clog the channel. Clear it with a dry brush, not compressed air, which can force debris deeper into the mechanism.
- Check for post movement. After a wet spring, the ground around gate posts can heave or settle. Measure the gap between the gate leaf and the post at three points. If it’s changed from your baseline by more than 1/8 inch, the post is moving.
- Lubricate hinges and chain drive. Use a dry graphite or a silicone-based lubricant on hinge pins. Avoid WD-40, which is a solvent and will strip away whatever lubricant remains. On chain-drive operators from Linear or BFT, apply light oil to the chain only.
If you haven’t had the gate inspected in more than 18 months, spring is the season for a full service by a company like Vance Gate Repair Irving. The winter-spring transition is when accumulated damage becomes visible, and catching it in March beats discovering it in August.
Summer Checklist: June Through August
Summer is when Irving gates work the hardest and get the least mercy. Direct sun on a black iron gate can push surface temperatures past 160 degrees, and the UV load breaks down plastic components at a rate that surprises people from milder climates.
Monthly Tasks
- Inspect photo-eye lenses for hazing or micro-cracks. The lens is the clear plastic cover over the infrared beam. After one full Irving summer, it can develop a frosted or yellowed appearance that scatters the beam. This is the single most common cause of phantom gate reversals we see in August.
- Check for dry, squeaking hinges. Summer heat bakes grease out of hinge pins within weeks. A dry hinge puts extra load on the motor and accelerates wear on the gate’s entire drive train. Lubricate with a heavy silicone grease in June and again in August.
- Verify motor thermal overload isn’t tripping. On very hot afternoons, the motor’s internal thermal protection may trip and cause intermittent failure. If the gate stops responding at 3 p.m. but works fine at 8 p.m., heat is the likely cause. The fix may be as simple as adding a shade canopy or upgrading to a motor with a higher duty rating.
- Test the manual release. Every opener has a manual release, typically a keyed cylinder or pull chain. Test it in June. If the release is seized, it won’t work in a power outage, and freeing it on a 100 degree day is not when you want to learn this.
One more item specific to Irving: the red clay soil here gets into everything. If the gate sits near a yard with exposed dirt, the dust works into gearboxes and limit switches at a rate that will surprise you. Blow out motor housings and enclosures with low-pressure air every six weeks during summer.
Fall Checklist: September Through November
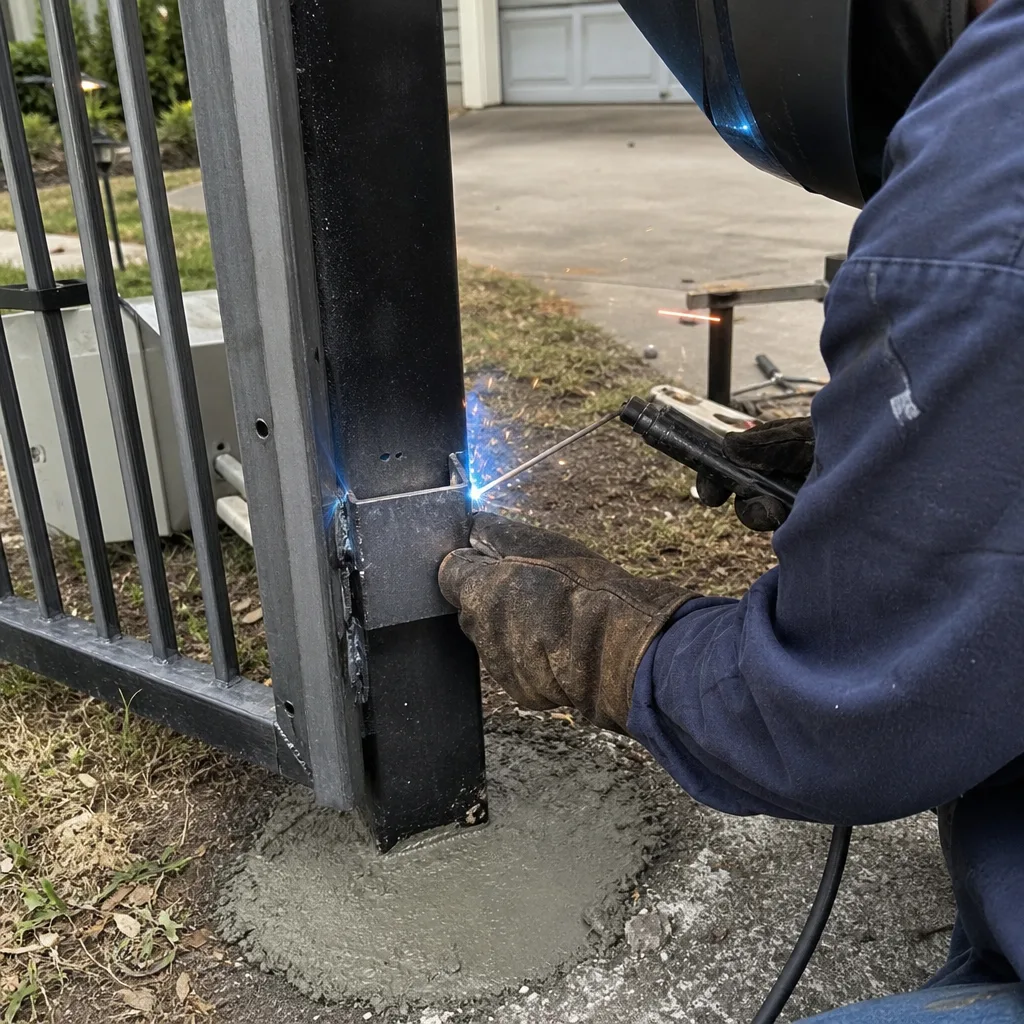
Fall is when Irving homeowners should think about preparation, not repair. The first hard freeze usually arrives in November, and any component that’s marginal after summer will fail as temperatures drop. September through October is also when leaves, twigs, and the first good storms of the season deposit debris into every crevice of a gate’s drive system.
Monthly Tasks
- Re-torque all hardware. Hinge bolts, post caps, motor mount bolts, wheel brackets on sliding gates. Temperature swings from August to October loosen hardware at a measurable rate. Tighten everything to the manufacturer’s specification, and record the torque values in your baseline log.
- Clear leaf and debris traps. The limit-switch channel, the area under sliding gate rollers, the track on a chain drive, and the base of the operator post are all debris traps. Clear them by hand or with a brush. Don’t use a leaf blower at full force against limit switches or sensors.
- Reapply dielectric grease to electrical connections. Before the first freeze, disconnect the low-voltage connections at the photo-eyes and control board, apply a small amount of dielectric grease, and reconnect. This blocks moisture and prevents corrosion over the winter.
- Test the gate’s full cycle and record a new baseline. Run the gate open and closed three times. Record the travel time, motor sound, and any hesitation. Compare against the baseline you recorded earlier in the year. Any drift of more than 10 percent means something has changed.
If you’re planning a new gate or considering an gate installation in Irving, fall is the best season for the work. The ground is stable, the temperatures are moderate, and the install can be completed and tested before the cold swings arrive.
Three Consumable Parts to Keep on the Shelf
Most Irving homeowners don’t think about gate parts until the gate stops moving. But local failure rates tell a clear story. These are the three parts that fail most often in this climate, and having them on hand means the difference between a five-minute fix and a three-day wait.
1. Photo-eye lenses
Replacement lenses for LiftMaster, FAAC, and Linear photo-eyes are inexpensive – usually under $20 per pair – and they’re the first thing a technician changes when a gate starts phantom-reversing. The UV load in Irving means these lenses are effectively a wear item here, not a lifetime component. If your gate’s safety beam has been outside for more than 24 months, buy a spare set now.
2. Hinge pins and bushings
On a heavy swing gate, the hinge pin is a sacrificial component. Heat and dry air accelerate wear, especially on gates that face west and catch the full afternoon sun. Keeping a replacement pin set and a pair of bushings costs less than $40 and prevents the gate from sagging into the driveway when the original pins wear out.
3. Limit switch micro-switches
The physical micro-switches inside limit switch assemblies fail with depressing regularity during Irving’s winter swings. The part itself is small and cheap, often under $15, but replacing it requires opening the motor housing and may void a manufacturer warranty if done incorrectly. Keep the spare on hand; let a licensed technician install it.
Tasks That Void Warranties If Done Incorrectly
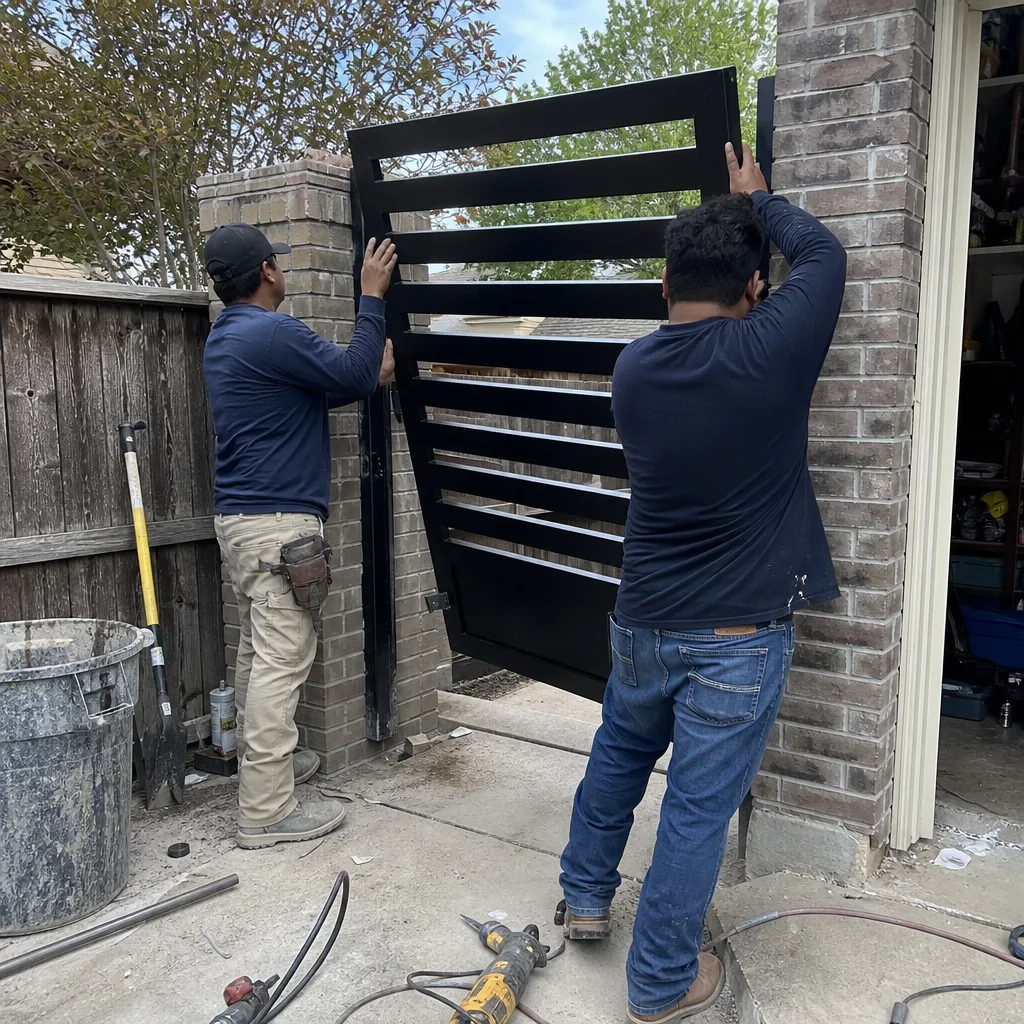
Manufacturer warranties on gate openers and motors are specific about what the homeowner can and cannot do. LiftMaster, FAAC, BFT, and Linear all publish maintenance documentation, and all of them draw a line between routine maintenance and internal service.
Tasks That Require a Licensed Technician Under Most Warranties
- Opening the motor or control board enclosure. If the warranty says “no user-serviceable parts inside,” opening the enclosure can void coverage. This is especially true for FAAC and BFT hydraulic operators, where internal adjustments require specialized tools and knowledge.
- Adjusting force settings beyond the manufacturer’s published range. The force setting controls how hard the motor pushes before it stops and reverses. Setting it too high creates a safety hazard and can void the warranty on the entire operator. If the gate needs more force to move, the problem is mechanical binding, not an underpowered motor.
- Replacing limit switches or photo-eyes on a unit still under warranty. Some manufacturers consider these warranty-replaceable parts. Replacing them yourself may eliminate the manufacturer’s obligation to cover future failures related to those components.
- Modifying the gate structure, hinges, or mounting hardware. If a warranty claim later reveals that the gate was altered, the manufacturer may deny the claim on the grounds that the alteration caused the failure.
- Anything involving high-tension springs. Some sliding gates and a few swing gates use counterbalance springs under tension. These can cause serious injury if they release unexpectedly. Do not attempt to adjust or replace them without professional training and proper safety equipment.
If you’re uncertain whether a task is covered by your warranty, the manufacturer’s documentation should be your first reference. Our technicians carry documentation for all nine brands we service, including LiftMaster, FAAC, BFT, and Linear, and we’ll tell you before we start if a repair falls under your manufacturer’s coverage.
Common Mistakes to Avoid
- Using WD-40 as a lubricant. WD-40 is a solvent. It strips grease and oil out of hinge pins and chain links, leaving them dryer than before. Use a silicone spray or white lithium grease.
- Ignoring a slow gate. If the gate takes a few seconds longer to open than it did six months ago, something is binding or the motor is weakening. Slow drift is the earliest warning sign of a failure that will eventually strand the gate in the open or closed position.
- Testing the safety reverse with a person. Never use a family member or pet to test whether the gate reverses. Use a cardboard box or a traffic cone. If the gate doesn’t reverse, the test object gets damaged; a person gets hurt.
- Power-washing the gate without protecting the electronics. Power washers force water into limit switch housings, motor enclosures, and photo-eye lenses. If you power-wash, cover the electronics and keep the nozzle away from anything that opens.
- Skipping the fall torque check. Hardware loosens over a Texas summer, and the first cold front is when loose hinge bolts reveal themselves. A five-minute torque check in October prevents a sagging gate in January.
- Calling for a new motor before checking the basics. A lot of “motor failures” in Irving are actually photo-eye alignment problems, dead batteries in the remote, or a tripped breaker. Check the simple things before calling for a gate motor or opener replacement in Irving.
When to Call a Professional
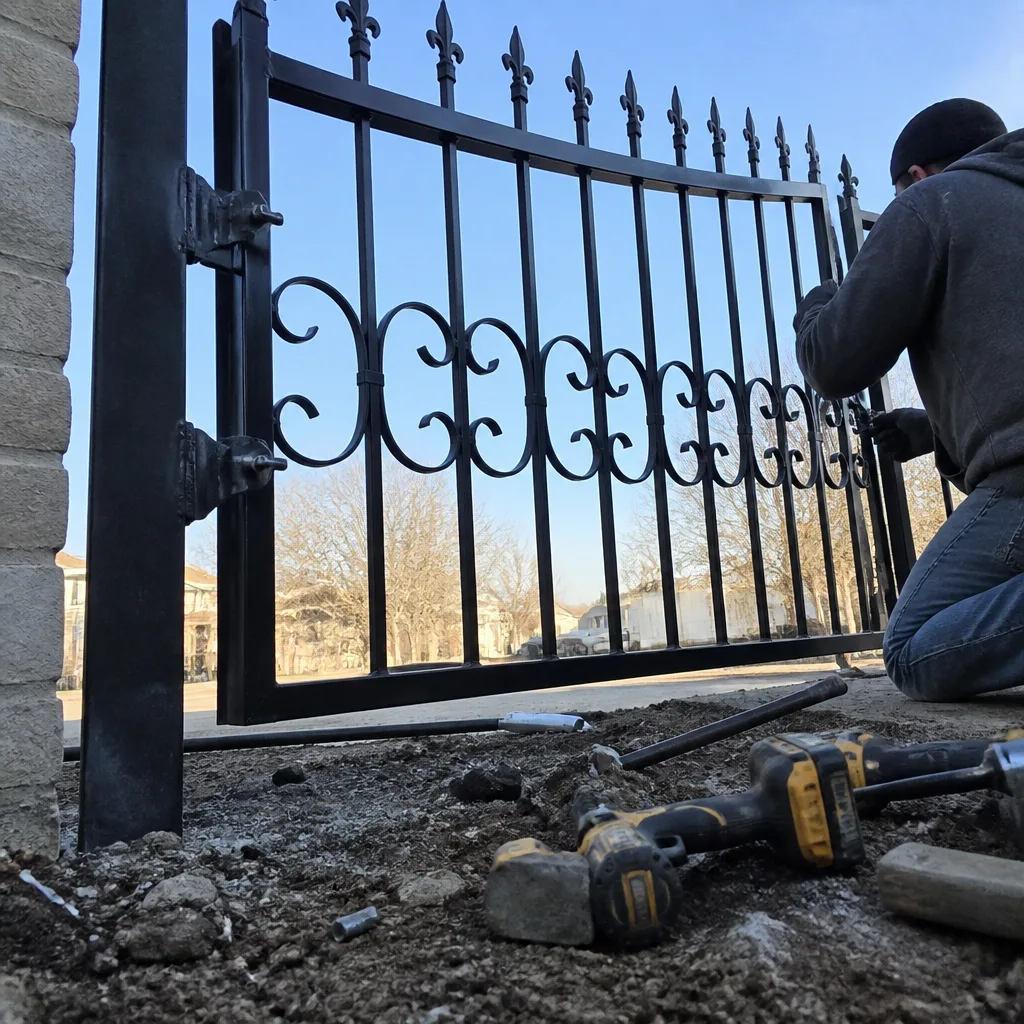
Some gate problems are safe to diagnose and even fix on your own. Others are not. If the gate makes a grinding noise from the motor housing, if you see sparks or smell burning plastic near the control board, or if the gate has come off its track and is hanging at an angle, stop using it and call a technician. High-tension springs, hydraulic lines, and control boards carrying live voltage are not DIY territory. A gate that slams shut with too much force is also a safety emergency that needs attention immediately, not at next month’s scheduled maintenance. Vance Gate Repair Irving offers free estimates in Irving – call (817) 510-4183, and a live person answers 24/7.
Frequently Asked Questions
A routine gate maintenance visit in Irving typically runs between $95 and $175, depending on the gate type and the number of operators. More involved service, like replacing photo-eyes or limit switches, adds parts cost on top of labor. Vance Gate Repair quotes a written price before any work begins, so you’ll know the exact number before a tool is picked up. Call (817) 510-4183 for a firm quote.
Twice a year is the right interval for most Irving gates. The summer heat and winter temperature swings create two distinct stress periods, and a spring and fall service aligns with those. If the gate is on a busy shared driveway or exposed to significant heat, three times a year may be necessary.
Routine tasks like cleaning photo-eye lenses, clearing debris from limit-switch channels, lubricating hinges, and testing safety reverse are homeowner-friendly. Tasks like opening the motor housing, adjusting force settings, replacing springs, or working on the control board should be left to a professional – especially if the unit is still under warranty.
Phantom reversing in Irving is most often caused by photo-eye misalignment or degraded lenses from UV exposure. The infrared beam scatters off a cloudy lens or an eye that’s moved a few millimeters, and the gate interprets that as an obstruction. It’s also possible the force setting is too low, causing the motor to stall and reverse under normal load.
Yes. Heat alone rarely destroys a motor, but it accelerates the failure of every component around it. Photo-eye lenses cloud, grease thins and runs out of hinges, gearbox oil breaks down, and the motor’s thermal protection trips more frequently. Over a single North Texas summer, these combined effects take a measurable toll.
First, check the breaker and the opener’s power light. Then test the manual release to confirm the gate isn’t mechanically jammed. If the breaker is fine and the gate moves freely, the problem is likely a wet or misaligned component from the storm – often a photo-eye or a limit switch. Call (817) 510-4183 and we’ll diagnose it over the phone before sending a technician.
The Bottom Line
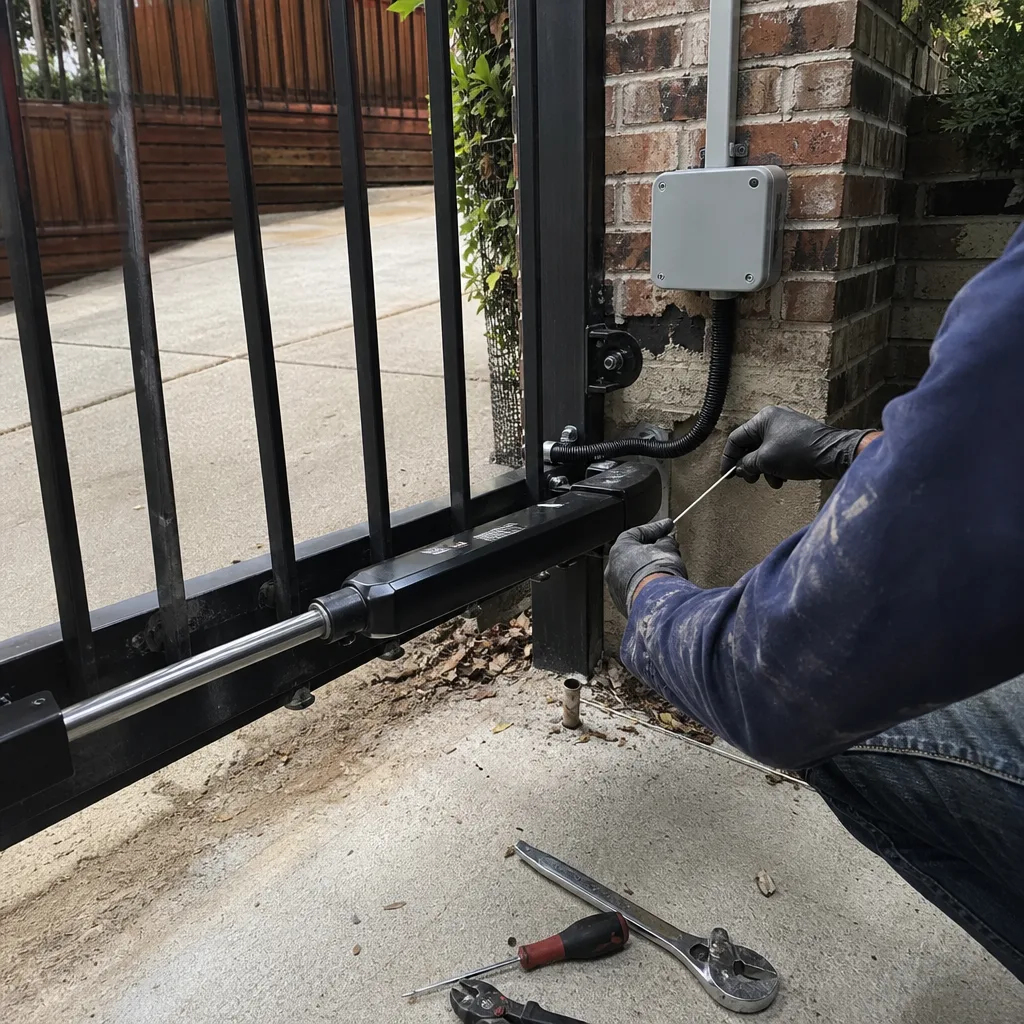
Irving’s climate doesn’t just wear gates out; it wears them out in a specific order. Heat kills photo-eyes and lubricant. Storms kill limit switches. Temperature swings kill wires. The maintenance tasks that matter in Irving are the ones that interrupt that sequence before the gate fails on a 100 degree afternoon or a 20 degree morning. Record your baseline readings. Check seasonally. Keep the high-failure parts on hand. For more guides & resources on Texas gate care, explore our blog. And when something exceeds your comfort level or your warranty’s allowed DIY zone, call a professional. A written price before the work starts is the standard every Irving homeowner should expect.
Written by Adrian Vance, Owner at Vance Gate Repair Irving, serving Irving since 2014.