
Last updated September 20, 2026
Free on-site gate assessment - hinges, posts, and your LiftMaster or Nice gate operator checked before anything is quoted
The assessment is free and the quote is the invoice.
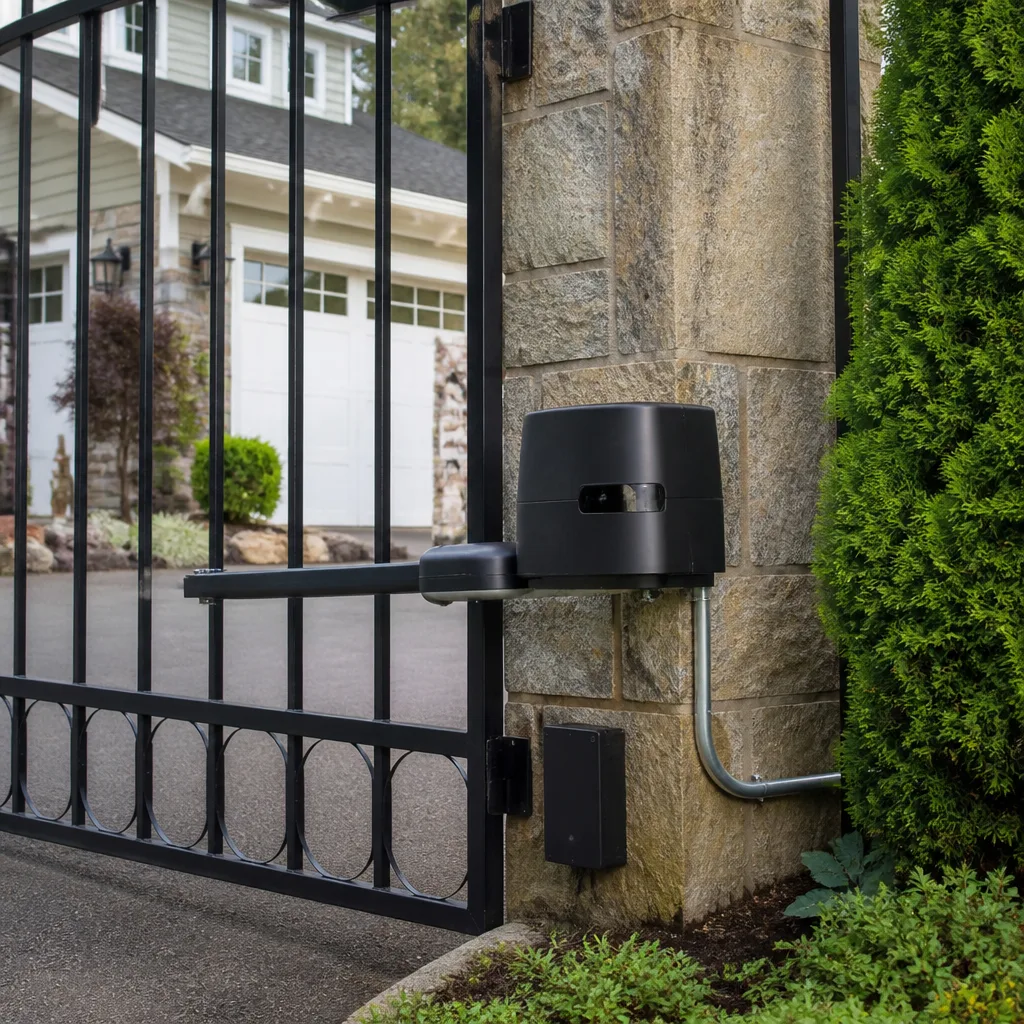
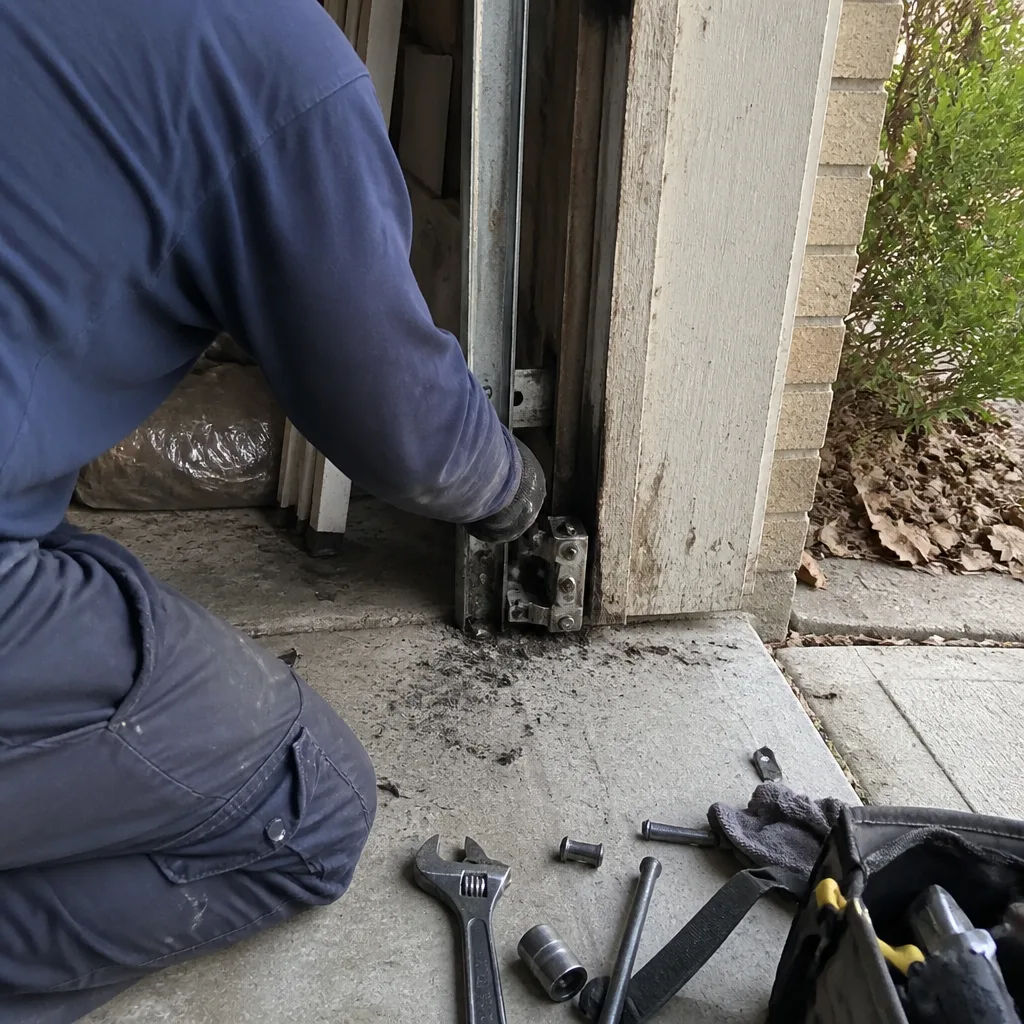 Before
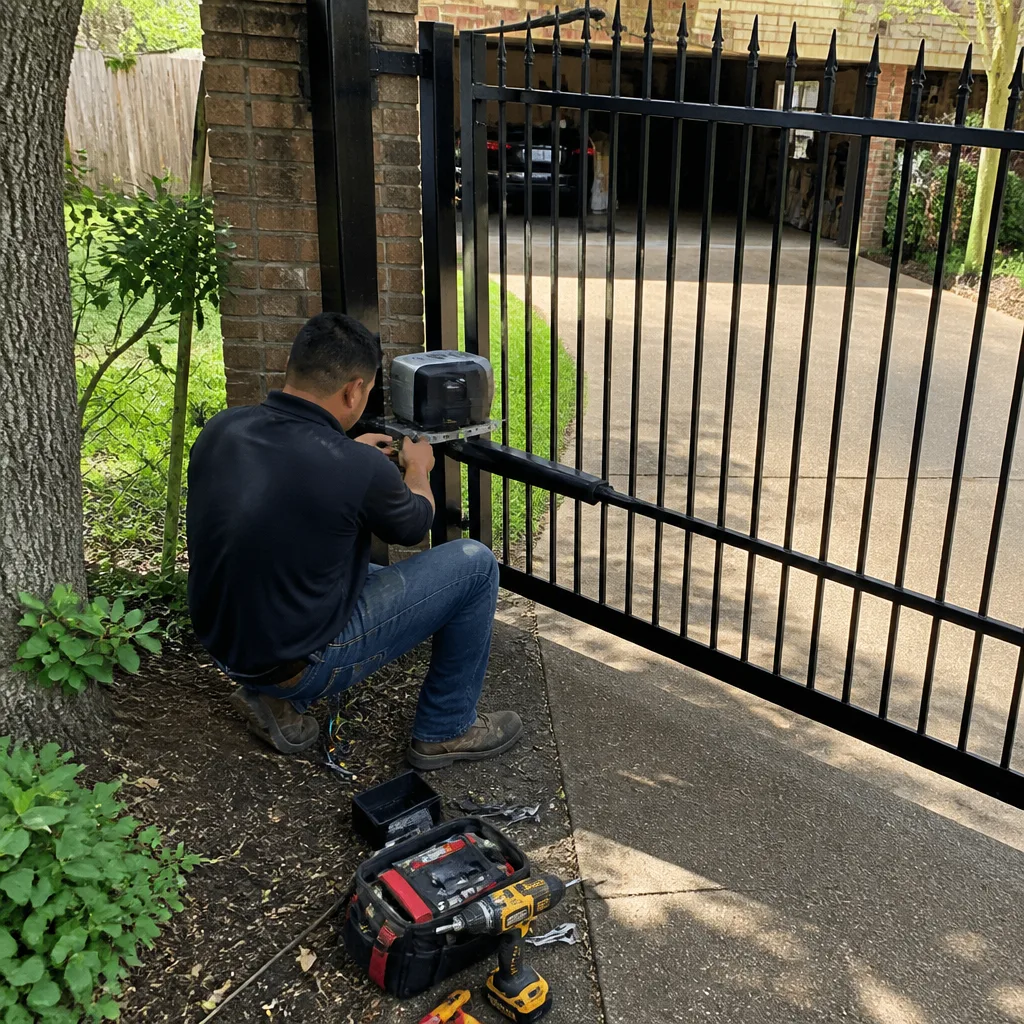 After
After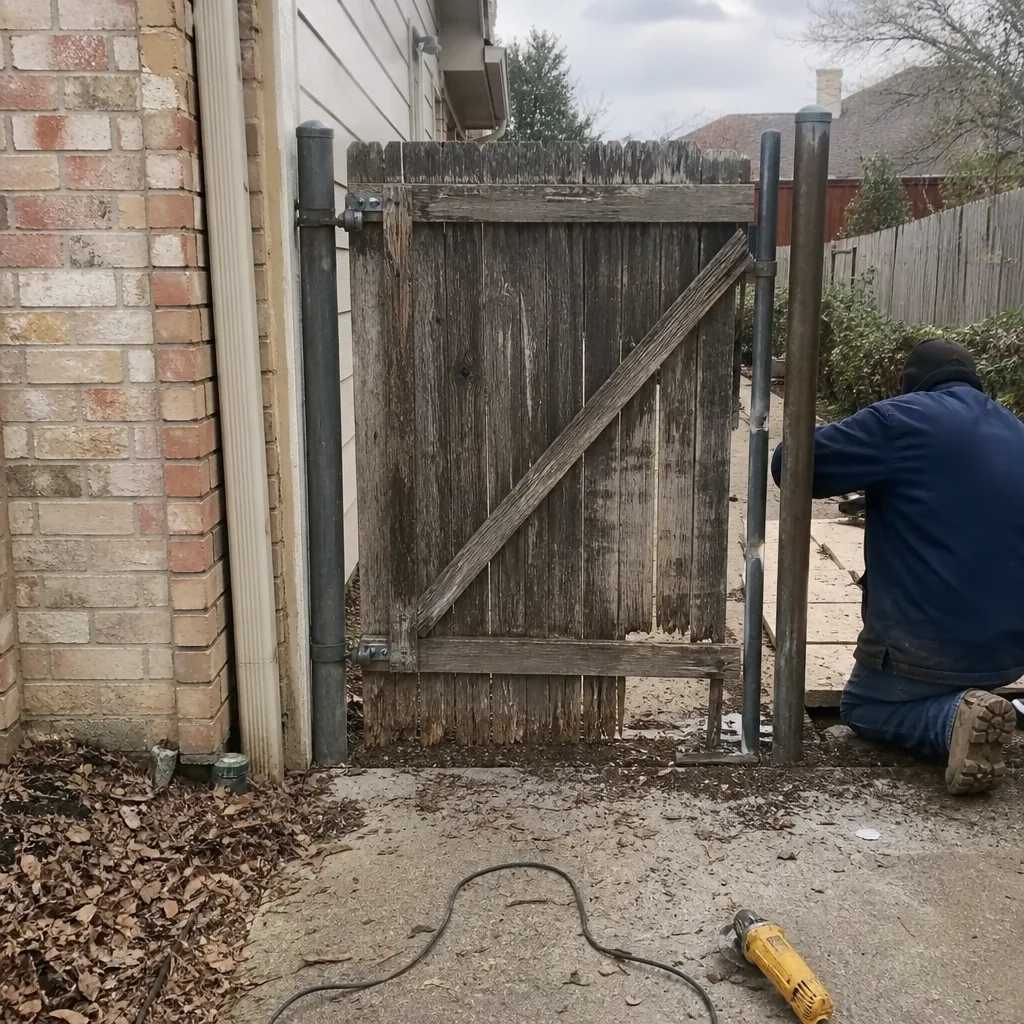 Before
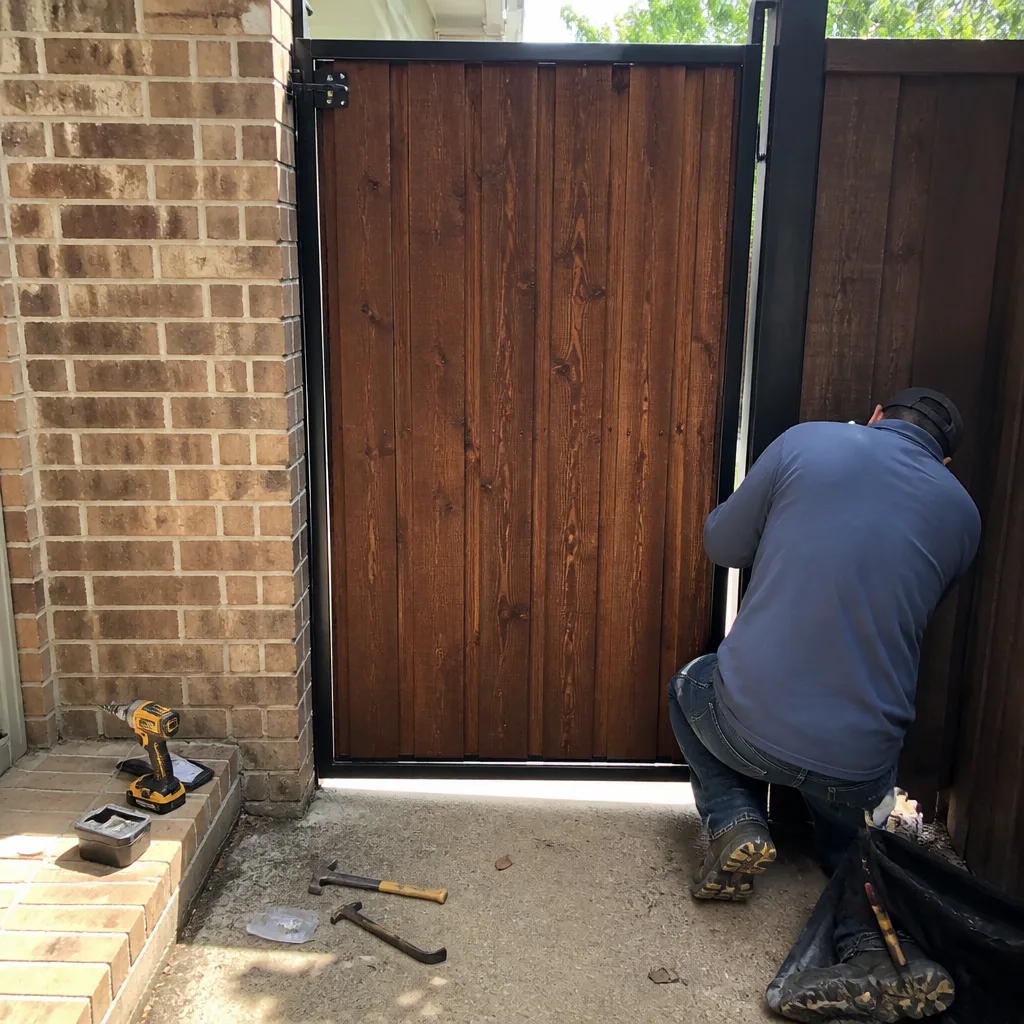 After
After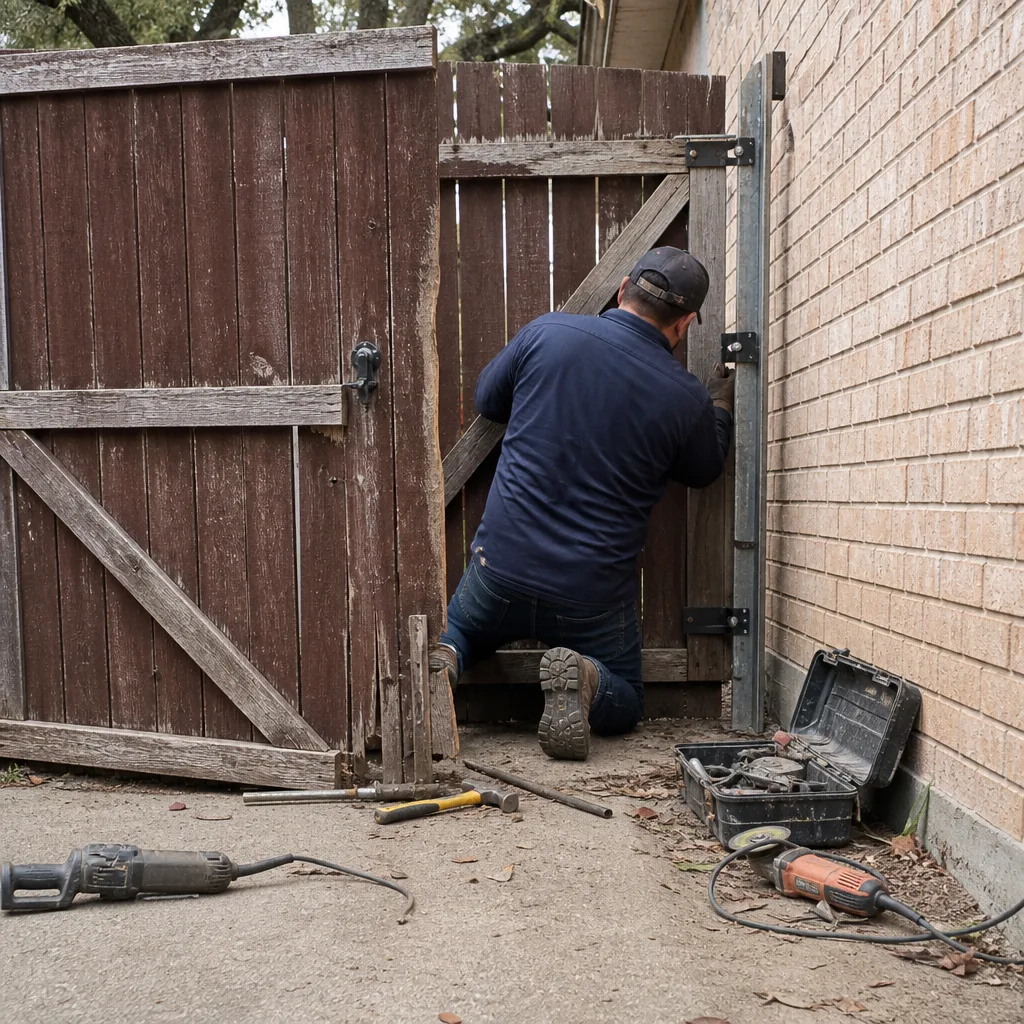 Before
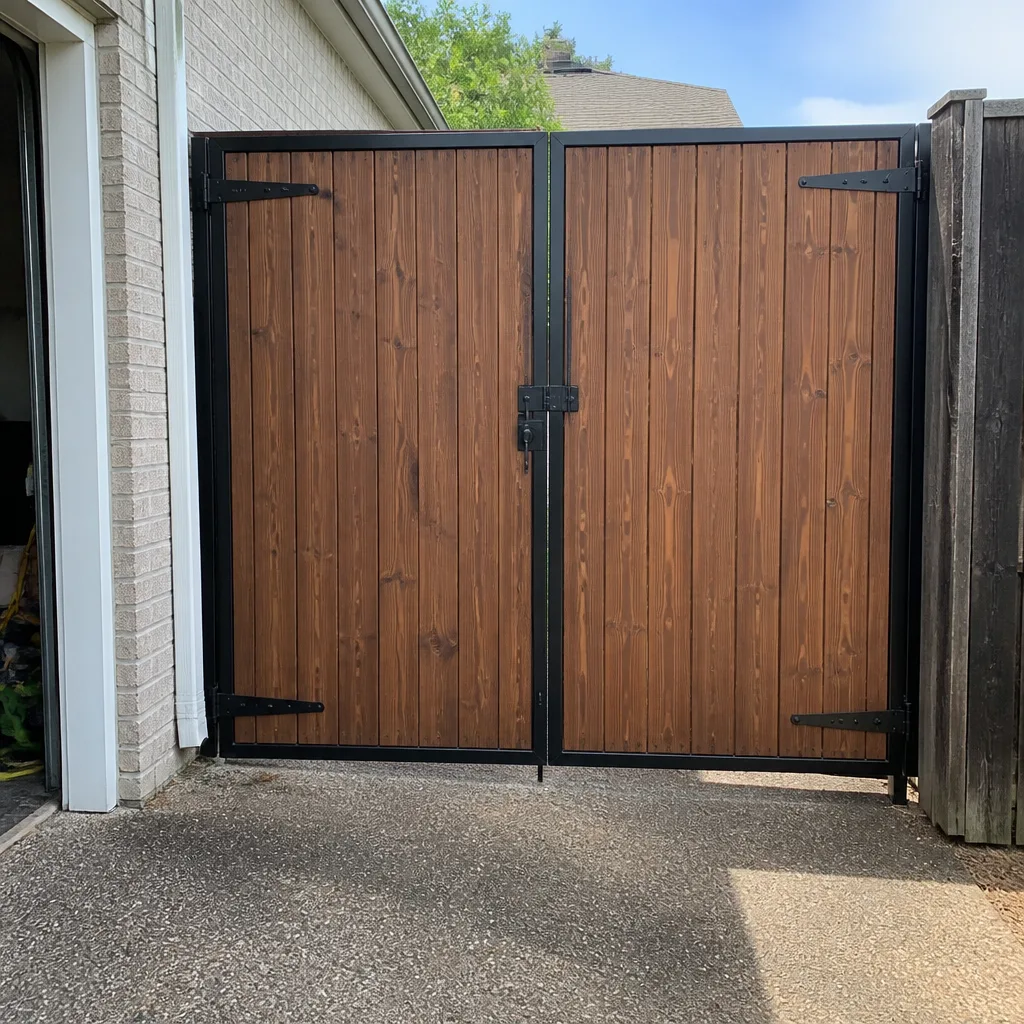 After
AfterDIY vs Professional Gate Repair: The Irving Homeowner’s Decision Guide
Here’s the counterintuitive truth about gate repair in Irving: most failed DIY attempts are not caused by a lack of mechanical ability. They’re caused by a lack of a baseline record. A homeowner who opens the control box and starts turning limit-switch screws without photographing the starting position has deleted the only evidence of where the gate was calibrated. When a technician arrives later to fix a gate that no longer closes, they’re not diagnosing a fault; they’re reconstructing a history that was erased. This guide is for the Irving homeowner deciding whether to pick up a screwdriver or pick up the phone for Gate Repair. We’ll walk through what Texas code actually permits, which repairs deserve caution, and what documentation protects you either way.
Quick Answer
DIY gate repair is reasonable for a small set of defined tasks: visual inspections, lubrication, battery replacements in remotes, and cleaning photo-eye lenses. Everything involving the gate motor, limit switches, circuit boards, wiring, or high-tension springs deserves a licensed technician, both for safety and because a professional fixes the gate and leaves a written record of what was done. If you attempt a DIY repair and make it worse, the correction usually costs more than the original professional repair in Irving.
Table of Contents
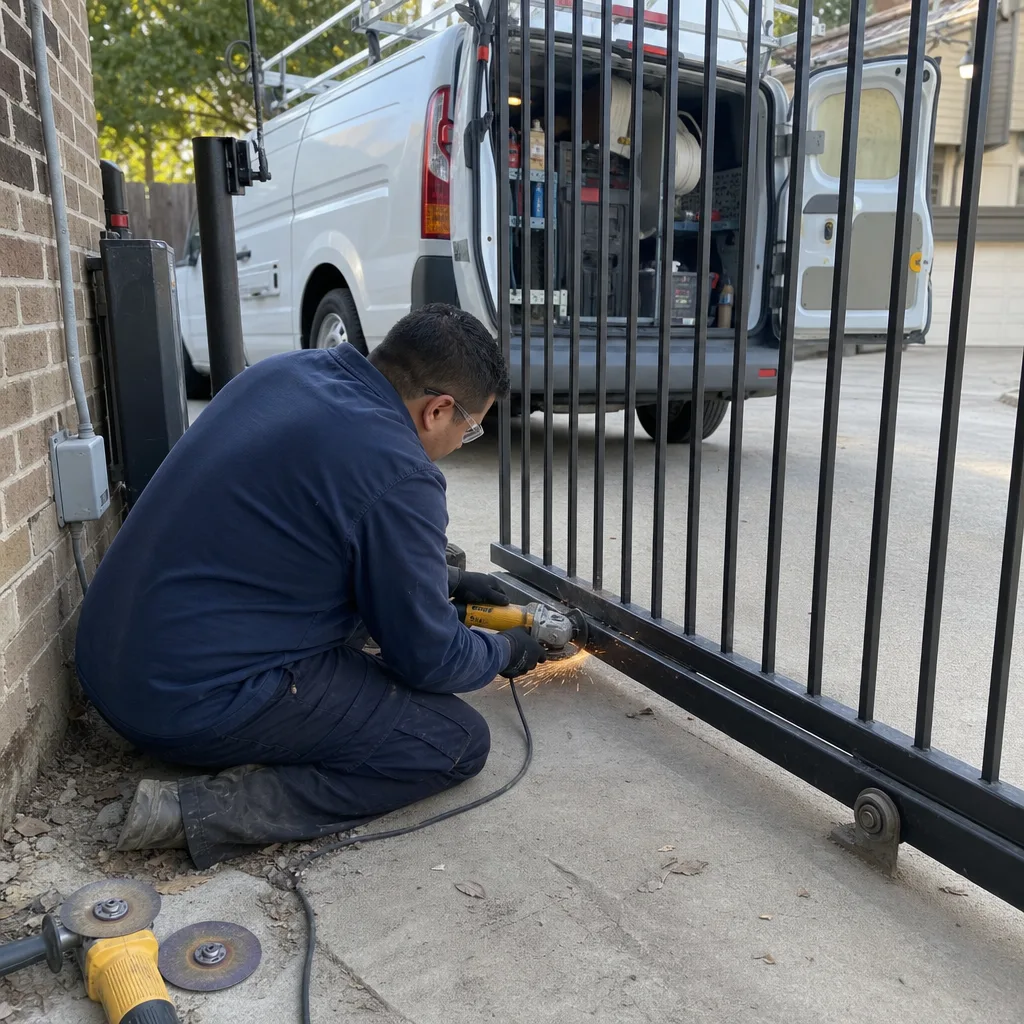
- What Texas Electrical Code Actually Allows a Homeowner to Do
- The Documentation a Homeowner Must Create Before Touching Anything
- Three Repairs That Fail Most Often in Irving
- How to Calculate the True Cost of a DIY Attempt
- What to Gather and Hand to a Technician Before a Visit
- Repairs That Are Genuinely Homeowner-Appropriate
- When Welding and Structural Work Enters the Equation
- Common Mistakes to Avoid
- When to Call a Professional
- Frequently Asked Questions
BeforeAfterWhat Texas Electrical Code Actually Allows a Homeowner to Do
Texas follows the National Electrical Code (NEC) with state-specific amendments enforced at the municipal level. Irving, like most cities in Dallas County, requires permits and licensed electricians for any permanent electrical work involving line-voltage circuits. A residential gate motor operating on 120V or 240V falls under this requirement. The low-voltage control side, meaning the 12V or 24V wiring that runs to keypads, photo-eyes, and safety edges, is less regulated but still subject to the gate’s UL 325 safety standard.
Here is the line-by-line breakdown for Irving homeowners:
- Permitted for homeowners without a license: Cleaning lenses, tightening visible mounting bolts, replacing remote batteries, lubricating hinges and rollers, clearing debris from the gate track, resetting a tripped GFCI outlet, and visually inspecting wires for obvious corrosion or breaks.
- Requires a licensed professional: Any line-voltage wiring, motor replacement, capacitor replacement, control board work, limit switch adjustment on a motor that’s still connected to power, and anything involving the tension springs that counterbalance the gate’s weight.
- Gray area that Texas code does not clearly address: Low-voltage component replacement, like a new photo-eye or keypad, is technically accessible to a homeowner, but UL 325 compliance requires the installer to verify entrapment protection after installation. If you can’t verify it, you shouldn’t install it.
In practice, the code concern is the second financial exposure after the safety concern. An unpermitted electrical modification that later causes a fire or injury can affect a homeowners insurance claim. Insurance adjusters in the Dallas-Fort Worth area do ask who worked on the gate. A written work order from a licensed contractor answers that question. A homeowner’s account of what they did to the motor does not.
Gate-Specific Safety Devices
Every automatic gate in Irving is required to have UL 325-compliant entrapment protection: at minimum a photo-eye or contact edge that reverses the gate when something blocks the path. Homeowners frequently disconnect these devices to stop nuisance reversals, not realizing they’ve removed the only safeguard keeping a 400-pound gate from pinning a child or pet. Disconnecting a safety device is not a repair; it’s a liability. Don’t do it. If the gate reverses for no visible reason, the safety device is misaligned or failing, and that’s a diagnosis, not a bypass.
The Documentation a Homeowner Must Create Before Touching Anything
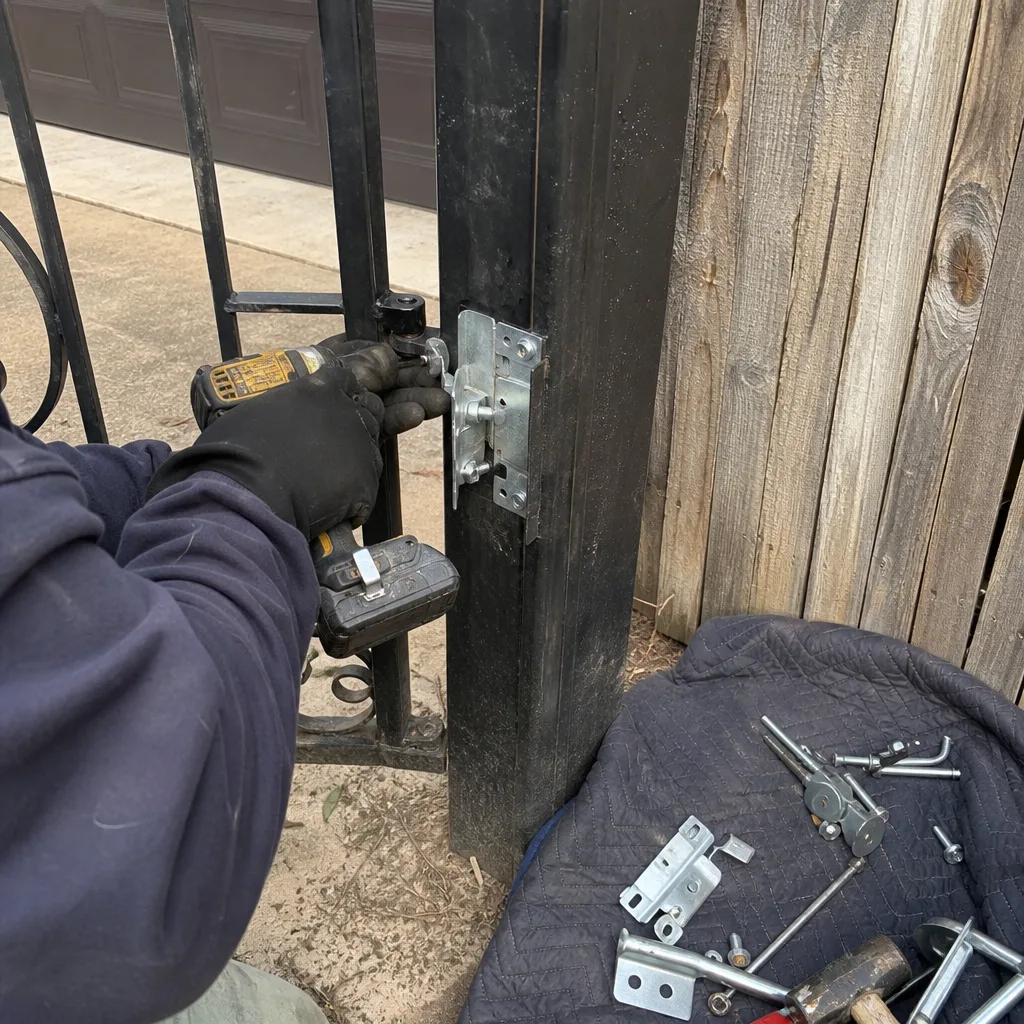
If you decide to do any repair work yourself, even a simple one, create a record before you begin. This is the single highest-value habit in gate maintenance, and almost no one does it. The reason is simple: every gate has a calibration. Motor travel limits, force sensitivity, close delay, auto-close timer. These are set to specific values that match the weight and size of your gate. Change one without recording the original, and you have no reference point when the gate starts behaving badly two weeks later.
Here is the minimum pre-repair record to create, in order:
- Photograph the control board from straight on, with the LED indicators visible. Use your phone. One photo of the whole board, one close-up of any dials or DIP switches.
- Photograph the motor and limit switch assembly before opening any cover. Include the arm bracket and the point where the arm connects to the gate.
- Write down the gate’s behavior before the repair: how far it opens, how long it pauses before closing, whether it slows before stopping, any unusual sounds. Date the note.
- Record the breaker position in the panel, and take a photo of the breaker label. This prevents the classic mistake of turning off the wrong circuit and then “fixing” a gate that was never the problem.
- Photograph the gate closed, the gate open, and the gate mid-travel. These reference shots tell a technician whether the gate hangs level or has drifted.
This five-step record takes under ten minutes. It protects you when the DIY repair fails and a professional has to reconstruct what was there before. It also protects you if the DIY repair succeeds; you now have a documented baseline for future maintenance. Under Clause 4 of The Haven Standard, every professional visit we perform includes this record regardless, but a homeowner who has their own baseline is in an even stronger position.
Three Repairs That Fail Most Often in Irving
Every gate company has a version of this list. Based on our repair volume in Irving since 2014, the three repairs homeowners attempt most often and get wrong most often are limit-switch adjustment, photo-eye alignment in direct sun, and post-anchor inspection in clay soil. Each one looks simple. None of them are.
1. Limit-Switch Adjustment
The limit switch tells the motor when the gate has reached fully open or fully closed. It’s typically a small rotary dial or a pair of magnetic stops. The adjustment seems obvious: turn the dial until the gate stops where you want it. But the correct setting is not the visual stopping point. A gate set to stop exactly at the closed position will slam into the stop every cycle until something bends. The correct setting leaves a small over-travel buffer so the motor coasts to a rest against the mechanical stop without strain. Set it too tight and the motor strains against the stop, burning out windings over months. Set it too loose and the gate doesn’t seal or latch. In Irving, where summer temperatures regularly exceed 100°F, metal components expand enough to shift the effective limit by a few degrees. A setting that works in January can bind in July. We’ve reset limit switches on gates installed by homeowners that were set 12 degrees past travel because the homeowner adjusted for visual closure, not mechanical rest.
2. Photo-Eye Alignment in Direct Sun
A photo-eye, the infrared beam that stops the gate if something crosses the path, is misaligned by roughly two inches on most gates we’re called to repair in Irving. The symptom is a gate that refuses to close, or reverses mid-travel for no visible reason. The homeowner cleans the lens, checks the wiring, maybe even replaces the photo-eye, and the problem persists. The issue is usually solar interference. Irving gets intense direct sun, especially on west-facing driveways in the afternoons. A misaligned receiver eye can pick up the sun’s infrared instead of the emitter’s signal, causing random reversals that seem unrelated to the gate’s condition. Proper alignment in these installations requires shielding the receiver, adjusting the angle slightly off-axis, or replacing the unit with a newer model that filters solar interference. A homeowner with a continuity tester cannot see infrared. They’re adjusting blind. We fix these by photographing the beam path and measuring the offset with the gate in both open and closed positions.
3. Post-Anchor Inspection in Clay Soil
Irving sits on expansive clay soil. It swells when wet and contracts when dry, and over a typical year the ground around a gate post can move a half-inch or more. This movement slowly loosens the post anchor, but the signs are subtle: a gate that scrapes the ground only in August, a latch that only sticks after a week of rain, a hinge that creaks more in one season than another. A homeowner sees a gate that won’t latch and assumes the latch is the problem, so they shim it, drill it, or replace it. The real problem is below grade, where the post has shifted and the entire gate is now hanging out of square. Fixing it properly means resetting the post in concrete, which is a multi-day job involving a concrete saw, new mix, and curing time. A DIY latch repair masks the problem for a season and then it returns. The telltale in Irving is a gate that closes fine for months and then suddenly needs a nudge to latch after a heavy rain. That’s clay movement, not latch wear.
How to Calculate the True Cost of a DIY Attempt
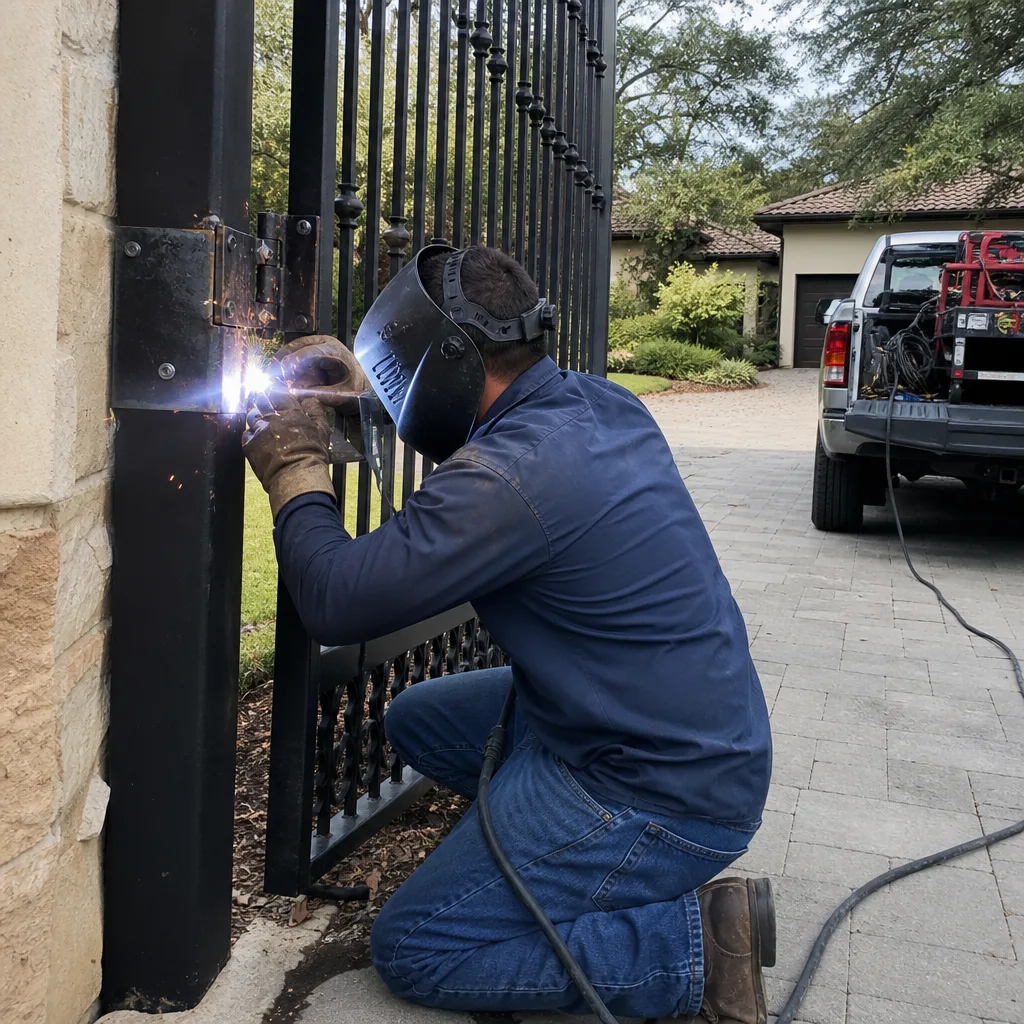
Let’s be honest about the math. In Irving, a typical professional gate repair carries a service call fee between $75 and $125, with most common repairs, like limit-switch resets or photo-eye realignment, running $180 to $340 all-in. A motor replacement on a swing gate usually runs $400 to $900 depending on the brand and whether the arm bracket is intact. A control board replacement can exceed $500 on newer models. These are the prices a homeowner is trying to avoid by doing the work themselves.
Now calculate the true cost of a failed DIY attempt. You buy a replacement part online for $60. The part is wrong, so you buy another for $85. You spend a Saturday afternoon installing it. The gate works for three days. Then it doesn’t. You call a professional. The diagnostic is no longer a simple fix; the technician now has to reverse your work, identify what was changed, source the correct part, and then perform the original repair. That diagnostic is billed at a higher rate because it now involves un-documenting a previous attempt. The invoice lands between $350 and $600 for a repair that would have cost $250 if called in fresh. You’ve spent more money and lost a Saturday. The only scenario where DIY clearly wins is when the repair is genuinely simple and it works the first time. For everything else, see our Gate Repair Cost Breakdown: The Irving Homeowner’s Reference for 2026.
The other cost is time. A professional gate repair in Irving is usually completed in 60 to 90 minutes on site. A homeowner researching, sourcing, and attempting the same repair will spend four to eight hours, and the result is not guaranteed. If your time has any value, the calculation shifts fast.
What to Gather and Hand to a Technician Before a Visit
Regardless of whether you attempted a repair or you’re calling first, the information you provide before the technician arrives directly reduces your invoice. Diagnostic time is the most expensive line item on any repair bill, and a homeowner who can hand over organized information cuts that time in half.
Prepare these seven items:
- The gate’s brand and model number, if visible. Check the motor housing and the control board for a manufacturer label. FAAC and BFT print model numbers on a plate near the motor. Viking and Linear usually have it on the control board itself.
- A description of the symptom in one sentence, not a narrative. “Gate opens but won’t close” is better than a paragraph about the sequence of events. Write it down.
- When the problem started, including weather conditions if relevant. A gate that failed after a storm points to water intrusion. A gate that failed during a heat wave points to thermal expansion.
- Any changes made recently: a new remote, a new control board, a different keypad code, landscaping work near the gate, a fence replacement, a new car in a different parking spot near the photo-eye.
- Your five baseline photos from the documentation section, if you created them. If not, a current photo of the gate closed and the control board with the cover off so the technician can see the configuration before arriving.
- The brand of the gate motor if you know it, and the year of installation if you remember. This tells the technician what parts they may need to bring.
- Whether the gate has ever been repaired before, and by whom. This matters more than most homeowners realize. A gate that’s been serviced by three different companies has three different sets of hands and possibly three different sets of adjustment philosophies. Knowing that history helps a technician interpret what they’re seeing.
A technician who arrives with this information can start diagnosing immediately instead of spending the first 20 minutes asking questions and tracing your answers. The diagnostic is shorter, which means the bill is lower. You’re paying for expertise, not for the technician to be a detective. Hand them the case file.
Repairs That Are Genuinely Homeowner-Appropriate
This section carries a caveat: a homeowner-appropriate repair is still a repair. Do it wrong and the consequences are yours. But the following tasks do not require a license, do not involve high voltage, and do not carry entrapment-protection liability when done within their stated scope. These are the DIY tasks we’d describe as reasonable for an Irving homeowner with basic tools.
- Lubricating the gate hinges and rollers with a silicone-based or lithium-based lubricant. Do this twice a year in Irving’s climate; the heat and dust dry out moving parts faster than you’d expect. Wipe off excess lubricant so it doesn’t attract grit.
- Cleaning the gate track on a sliding gate. Irving’s windy springs and the clay dust kicked up from nearby construction will accumulate in the track and cause the gate to drag. Clear it with a stiff brush, not a pressure washer, which can force debris into the roller bearings and damage them.
- Replacing remote batteries. This is the most common “broken gate” we get called for in Irving. A gate that operates from the keypad but not the remote usually has a dead battery, not a dead motor. Replace the battery first, re-sync the remote if needed, and only call if it still doesn’t work.
- Cleaning photo-eye lenses with a dry cloth. This is safe, takes 30 seconds, and resolves a meaningful percentage of no-close symptoms. Do not adjust the angle. Cleaning is not aligning.
- Tightening visible bolts on the hinge plates and the gate frame using hand tools, not an impact driver. An impact driver will over-tighten and strip threads or deform the post. Snug is the target, not tight.
- Resetting a tripped GFCI if the gate motor is plugged into an outdoor outlet that has tripped. Press the reset button. If it trips again immediately, stop and call a professional; the ground fault is real and you’re feeling for an electrical problem with your hands.
- Trimming vegetation that blocks the gate path or grows into the photo-eye beam. This is landscape work that happens to affect a gate. Prune it back a few feet beyond the gate’s full travel so the gate never contacts the plant.
These tasks are maintenance, not repair. The distinction matters. A maintenance task restores the gate to its existing calibrated state. A repair changes the calibrated state. One is a wipe-down. The other is a rewrite. If the task involves changing how far the gate travels, how fast it moves, how much force it applies, or how it detects obstacles, you have crossed from maintenance into repair, and repair deserves a record.
When Welding and Structural Work Enters the Equation
Most gate repairs in Irving are electrical or mechanical. But a meaningful percentage are structural: a crack in the gate frame, a broken hinge weld, a sagging post base, a torn arm bracket. These failures develop slowly over years of operation and are accelerated by Irving’s specific combination of clay soil movement and high summer temperatures that make steel expand and contract daily.
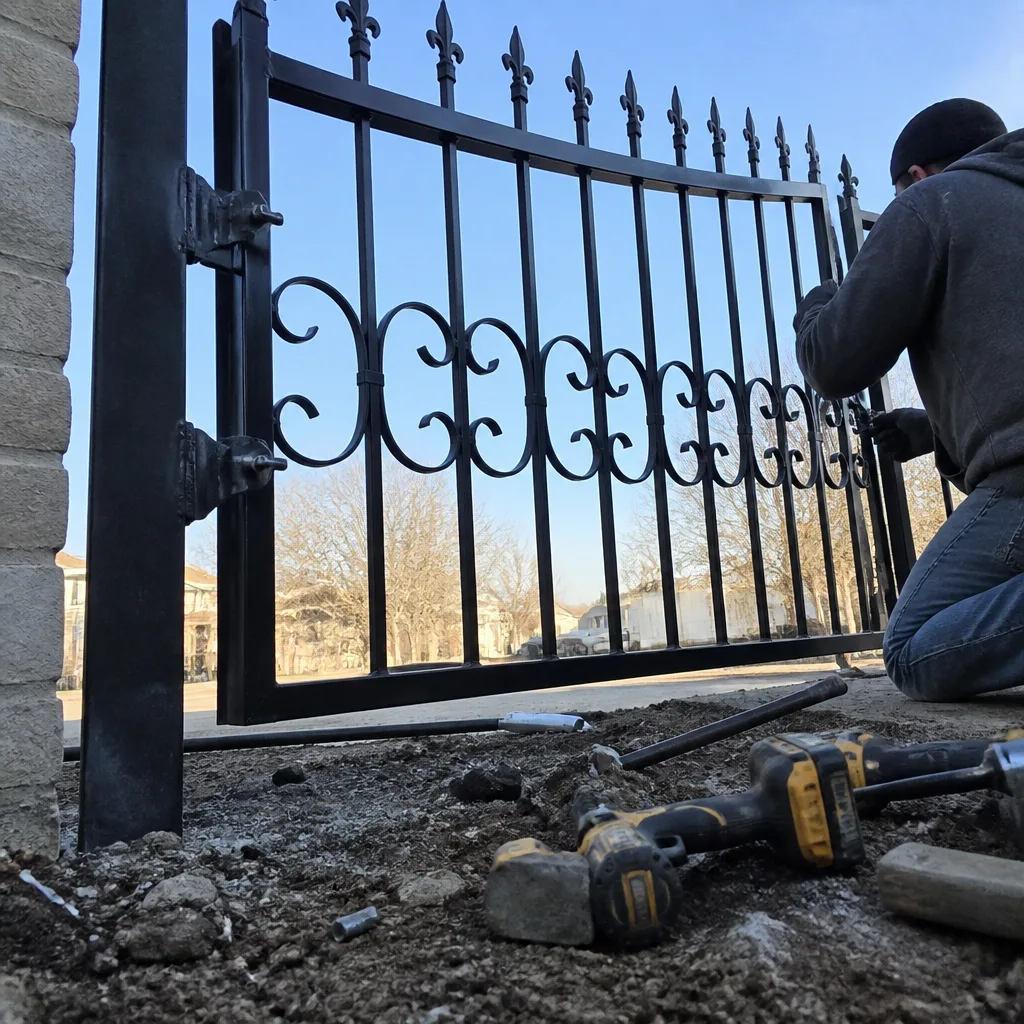
Welding a gate frame is not a DIY project. This is not a judgment on your ability; it’s a statement about the equipment, the liability, and the effect of the repair on the gate’s balance. A gate is a counterbalanced system. Adding weld material to one side without accounting for the weight changes the load on the motor. A gate that was fine before the crack and now has a heavy bead of weld on the lower hinge side will sag toward that side, and the motor will strain to lift it. The motor’s force settings were calibrated for the original gate weight. Change the weight, and you change the calibration requirement. A professional welder who works on gates will back-grind the crack, weld it with proper penetration, grind the bead smooth to minimize added weight, and then re-check the gate’s balance and motor settings. A homeowner with a borrowed MIG welder will lay a bead and call it fixed. Six months later the motor burns out, and that’s a $500-plus consequence that traces back to the weld.
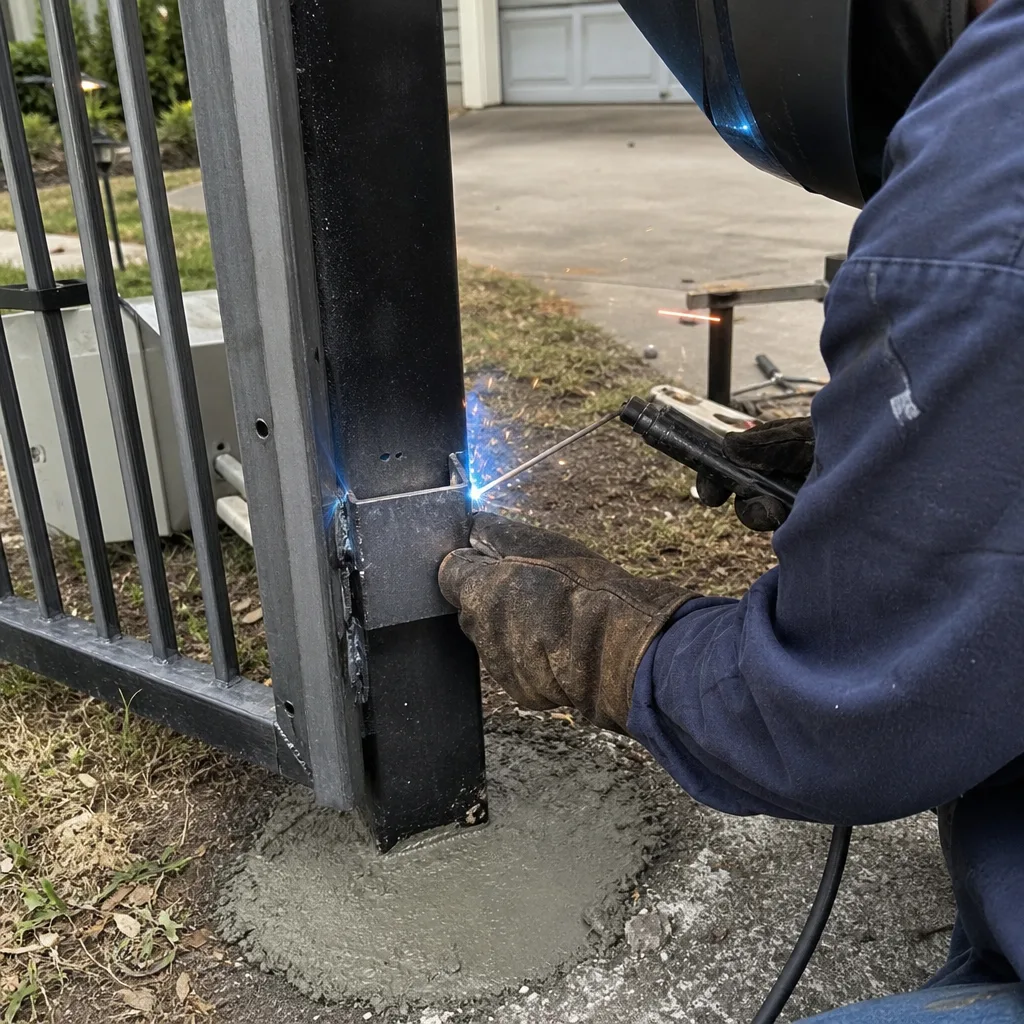
Structural work also raises the question of post replacement. A post that’s rusted at the base or shifted in the clay needs to be excavated, reset in concrete, and allowed to cure before the gate is re-hung. This is a job that requires a concrete saw, a post level, and usually two people. In Irving, the freeze-thaw cycle is mild but the clay expansion is aggressive, so the post hole needs to be deeper than in other parts of Texas, usually 30 inches or more to get below the active soil layer. A homeowner who sets a gate post in a 20-inch hole will be doing it again in three years.
If any part of your gate repair involves welding, post resetting, or significant frame straightening, call a professional. The cost of a professional structural repair in Irving typically runs $300 to $700 depending on the extent, and it carries a documented warranty. The cost of a failed DIY structural attempt includes the original repair, the damage caused by the failure, and sometimes a gate that falls off its hinges. That’s not a scenario where saving money makes sense.
Common Mistakes to Avoid
- Adjusting a limit switch without recording the original position. You have no idea where the gate was set. The next technician will have to reconstruct that setting by trial and error, and you’ll pay for the time. Always photograph before you turn.
- Disconnecting a photo-eye or safety edge to stop nuisance reversals. In Irving’s direct sun, nuisance reversals are usually an alignment issue. Disconnecting the safety device removes the only entrapment protection on the gate, and if a child or pet is injured, you’ve created the liability. Never bypass a safety device.
- Buying the cheapest replacement part online without checking compatibility. Gate parts are not universal. A FAAC board does not drop into a BFT housing. The savings evaporate when the part arrives, doesn’t fit, and you’re paying a restock fee and another shipping charge. Verify the exact model number before ordering.
- Using an impact driver on gate bolts. Impact drivers apply torque too fast for gate hardware. You’ll strip threads, spin inserts, or deform the post. Use hand tools and stop when the bolt is snug.
- Ignoring a gate that’s gotten louder over months. A gate that develops a new sound, a grind, a squeal, a clunk, is telling you something. In Irving’s heat, a motor that’s working harder than it should will fail in August, when you least want to be outside dealing with it. Address the sound when it starts.
- Assuming a gate that won’t open is an electrical problem. We get calls in Irving where the gate won’t open and the homeowner has already ordered a new motor, but the actual problem is a dead remote battery or a tripped GFCI. Start with the free diagnoses: battery, breaker, obstruction. Then spend money.
- Not checking the gate’s balance before calling a motor problem. A gate that’s heavy on one side will strain any motor, no matter how good. An unbalanced gate shortens motor life by years. Repairing the motor without fixing the balance is a temporary fix.
When to Call a Professional
Call a professional when the repair touches the motor, the control board, the limit switches, the wiring, the springs, or the structure. Call a professional when the gate has become unsafe, when it reverses unpredictably, when it won’t stay closed, or when it makes sounds that weren’t there before. Call a professional when you’re not sure whether the repair is simple, because a diagnostic visit is cheaper than a failed attempt plus the diagnostic plus the repair that follows. And call a professional when the gate is the only thing between your backyard and the street, because a gate that doesn’t close is not a convenience problem; it’s a perimeter problem. Gate Repair in Irving is what we do, and Vance Gate Repair Irving home is where you’ll find the details. Vance Gate Repair Irving offers free estimates in Irving - call (817) 510-4183.
Frequently Asked Questions
Most gate repairs in Irving run between $180 and $340, including the service call, diagnostic, and the repair itself. Motor replacements run $400 to $900 depending on brand and configuration. Structural welding runs $300 to $700. The exact price depends on what’s wrong, and a written price should be quoted before any work starts, never after. Call (817) 510-4183 for a free estimate.
Homeowners in Irving can perform maintenance tasks like lubrication, cleaning, and battery replacement without a license. But line-voltage electrical work on a gate motor, including motor replacement and control board replacement, requires a licensed electrician under Texas code and Irving municipal requirements. Low-voltage component work is technically accessible, but UL 325 entrapment protection verification is the homeowner’s responsibility, and most homeowners can’t perform that verification.
Afternoon sun interference is the most common cause of unexplained reversals on Irving gates. The receiver eye on a misaligned photo-eye will pick up the sun’s infrared, read it as an obstruction, and reverse the gate. The fix is a proper alignment that accounts for the sun’s angle in your specific installation, not a new photo-eye. Cleaning alone won’t resolve solar interference.
No. Disconnecting photo-eyes or safety edges removes the UL 325 entrapment protection that’s legally required on every automatic gate in Irving. An automatic gate can exert up to 400 pounds of force, which is enough to cause serious injury to a child or pet. Nuisance reversals are an alignment or interference problem, not a reason to disable the safety system.
Gather the gate brand and model, a one-sentence description of the symptom, when it started, and any recent changes to the gate or the surrounding area. Photograph the control board and the gate closed, open, and mid-travel. Write it all down before you call. The information reduces diagnostic time and your bill. Gate Motor & Opener in Irving covers the specifics on motor issues.
A reputable gate repair company will work on whatever brand is already installed, not steer you toward a replacement. We service FAAC, BFT, Linear, Viking, LiftMaster, Ghost Controls, DoorKing, Elite, and Mighty Mule. A technician who says your brand is inferior and you should replace it is selling you a new motor, not repairing your gate. Brand-specific quirks exist, but they’re manageable by anyone who works on gates daily.
Yes. We serve the entire Irving area, including Valley Ranch, Las Colinas, and the neighborhoods along MacArthur Boulevard and Belt Line Road. Our technicians are dispatched from a local base, and a live person answers the phone at (817) 510-4183 around the clock. Gate Installation in Irving has more on our service area and installation process.
The Bottom Line
The DIY-versus-professional decision on gate repair in Irving comes down to documentation and liability, not skill. Maintenance tasks are yours to do, and you should do them: lubricating, cleaning, replacing batteries, trimming vegetation. For more guides & resources, see our blog. Repairs that change the gate’s calibration or involve electricity, springs, or structure belong to a professional, and paying for the professional repair the first time is cheaper than paying for a failed DIY attempt plus the correction. Before you touch anything, create a record. Before you call anyone, gather the information that a technician needs. And before any work begins, get the price in writing. A gate repair that’s done right, documented, and priced up front is the only kind that’s worth your money.
Written by Adrian Vance, Owner at Vance Gate Repair Irving, serving Irving since 2014.